Hetty’s Hints
Companion Planting
Companion Planting
by Hetty (CL) | 15th September 2023

We asked Liz (and Maisie of course)   “What are the benefits of growing herbs as companion plants?”

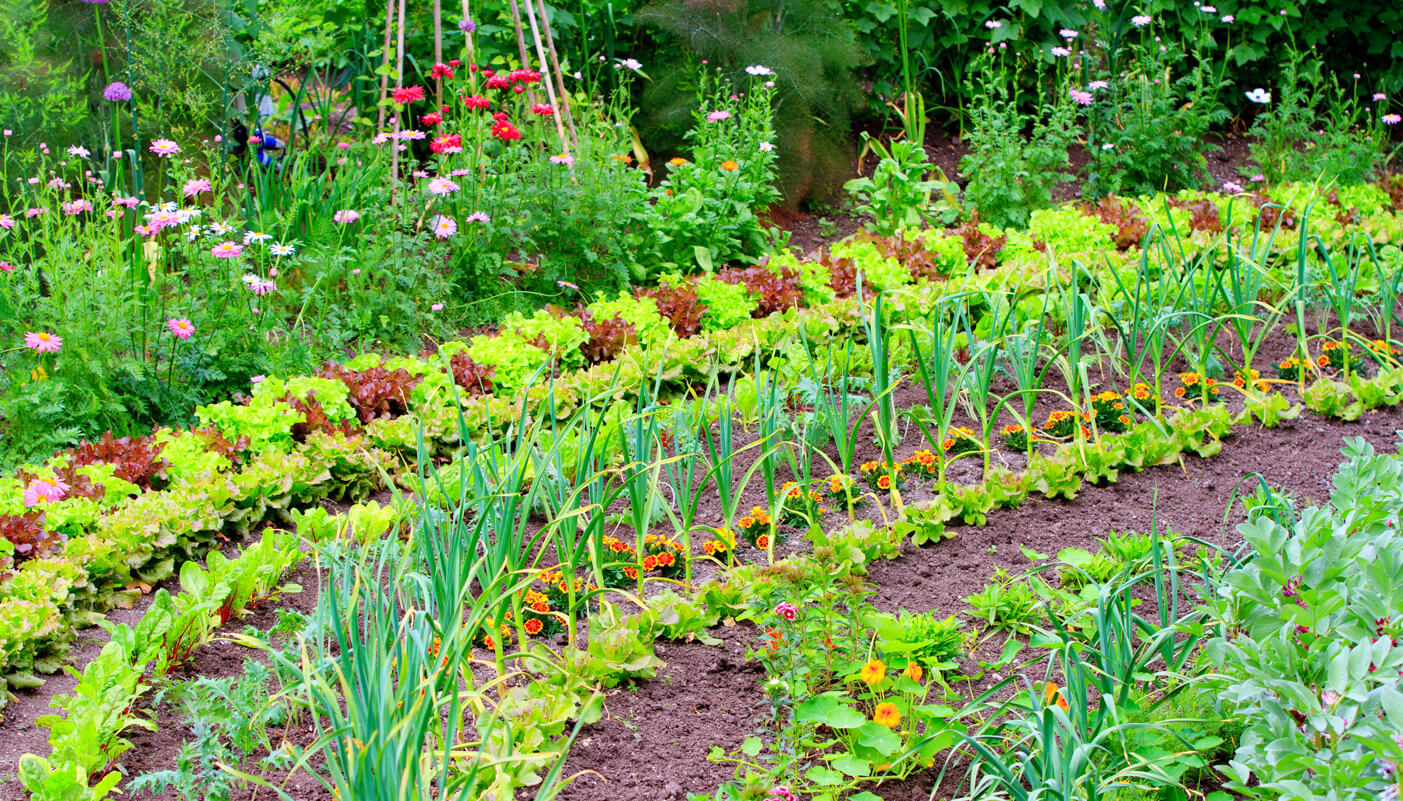
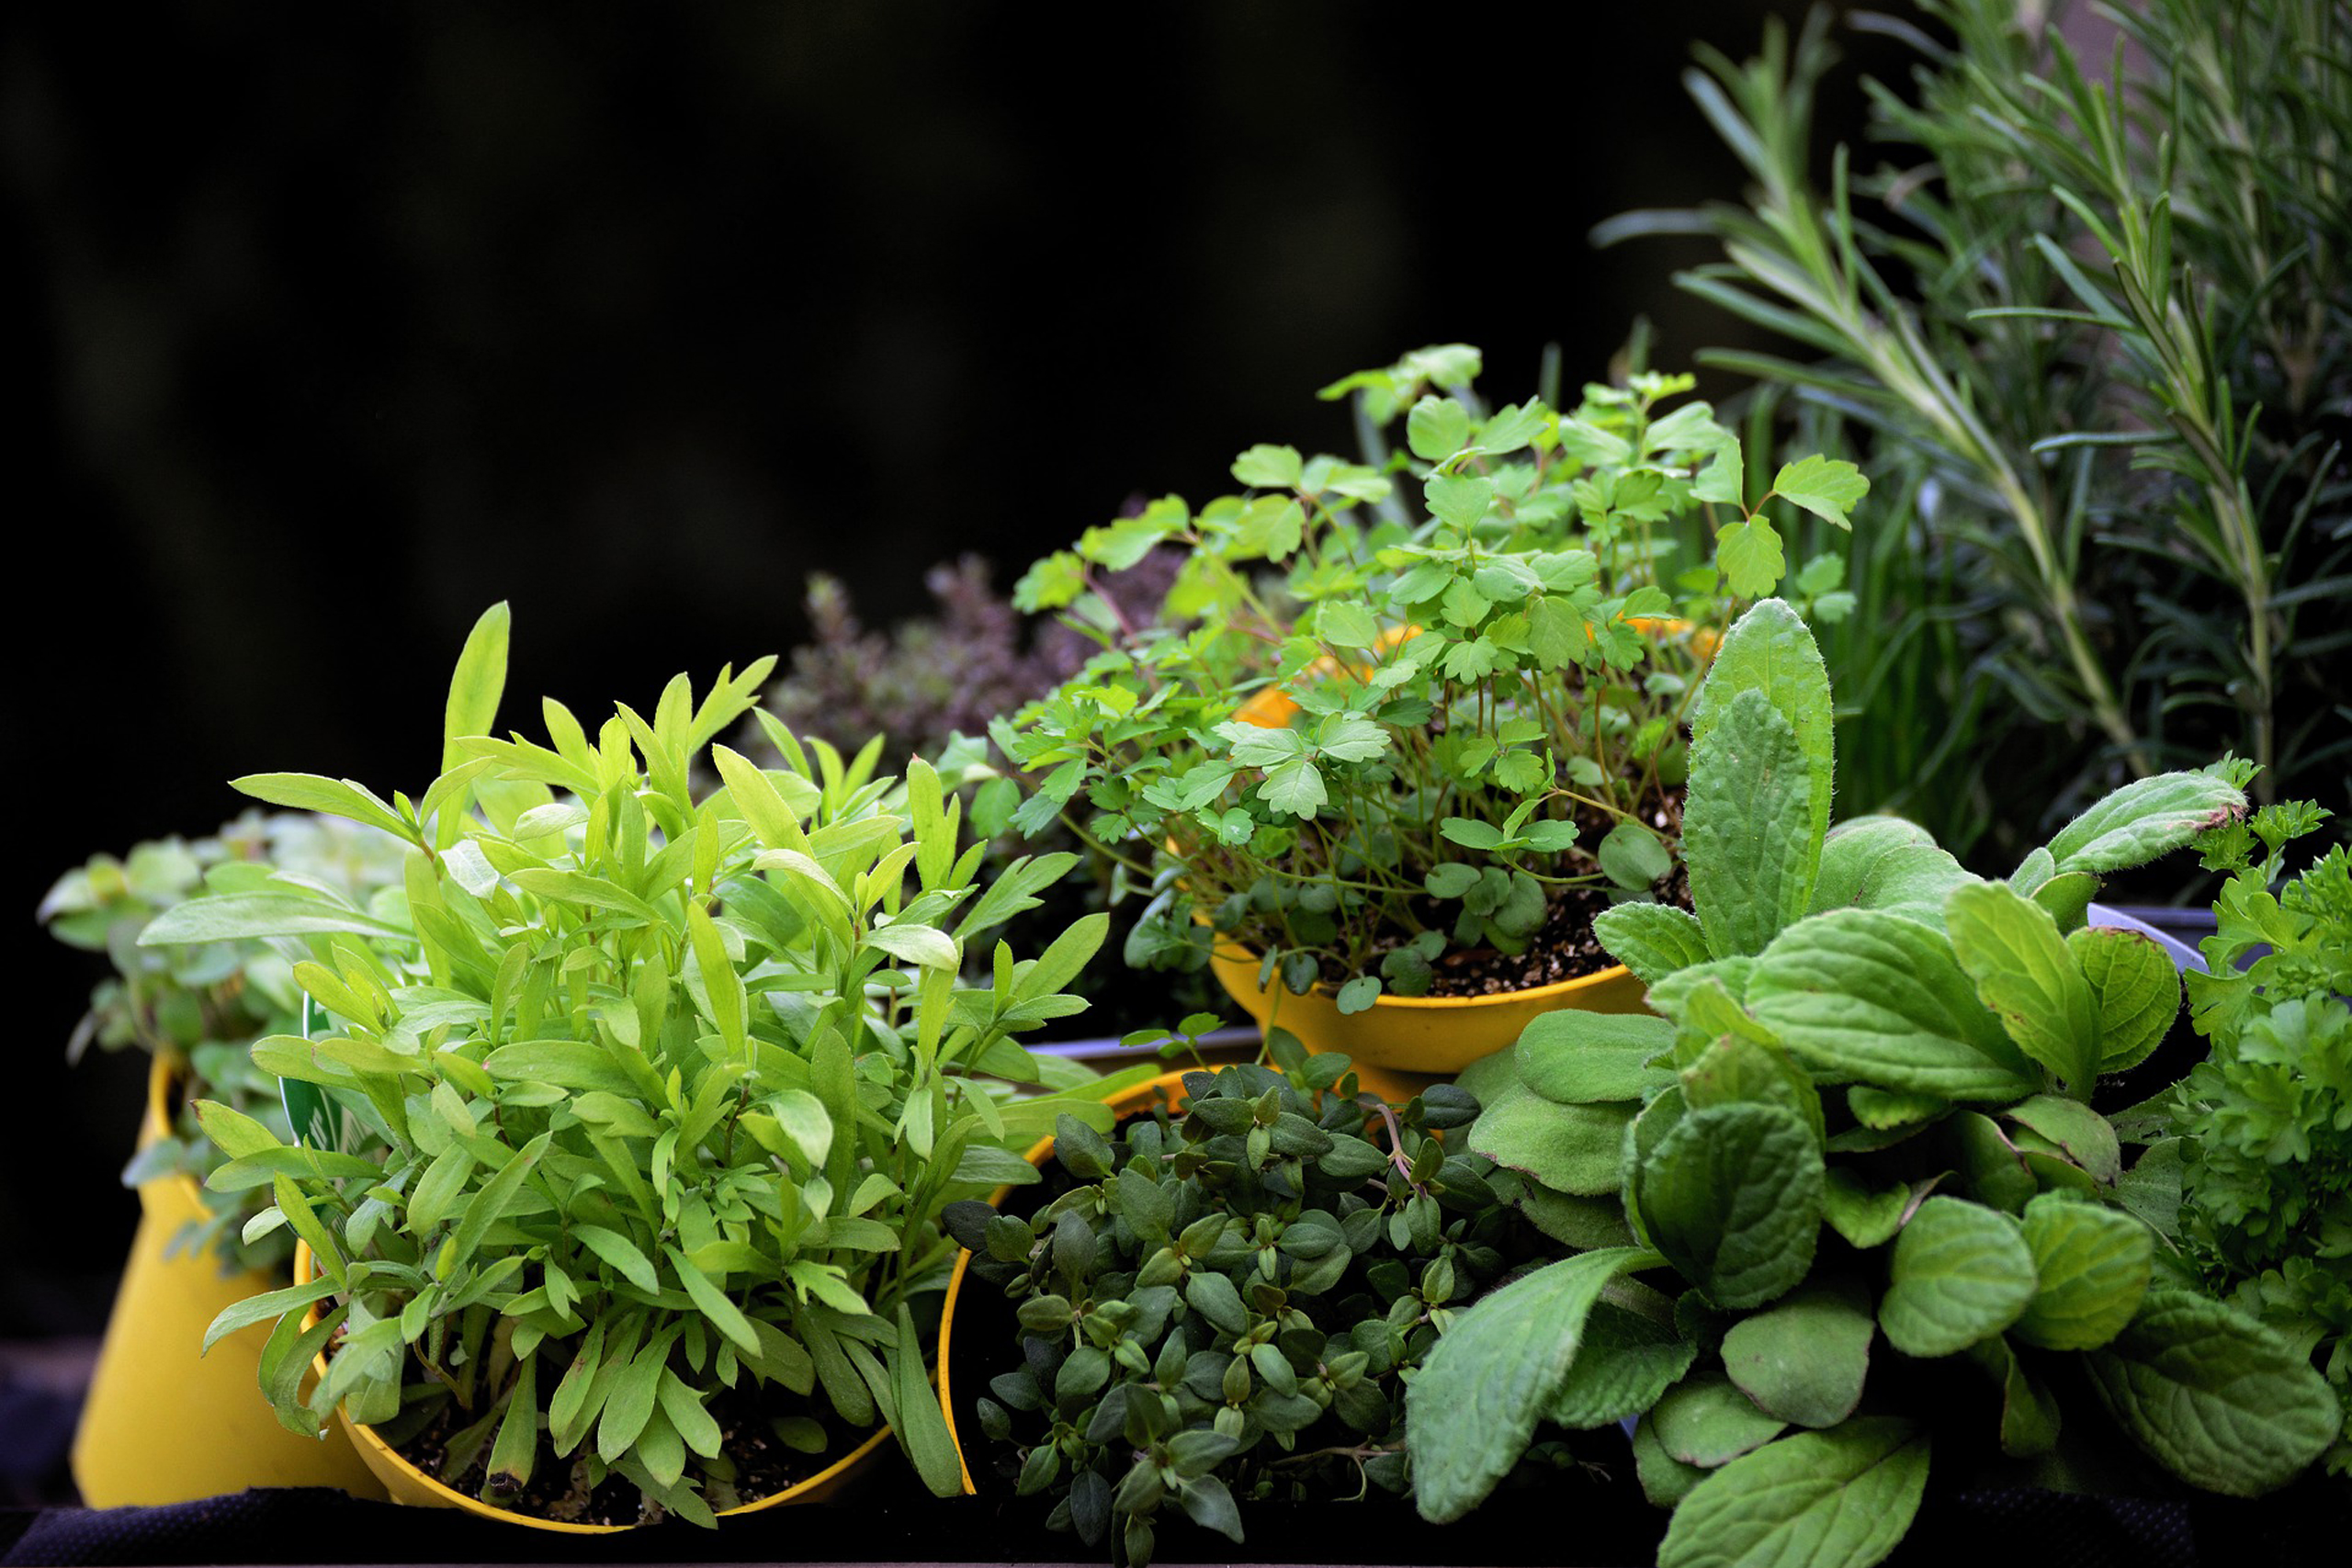
Many of us grow herbs in containers and the garden to use in the kitchen. But grown as companion plants herbs benefit other plants as well. Companion planting helps maintain a natural balance in the garden by growing plants together that are mutually beneficial. How this is achieved depends on the plant combinations planted.

Plants used as companions have many different qualities, a better known one is being loved by pollinators to help improve the pollination of plants close by. Many are highly scented which helps confuse pests looking for their target plant. Some plants attract beneficial insects such as ladybirds and lacewings to prey on aphids and other plants have antifungal or antibacterial qualities.

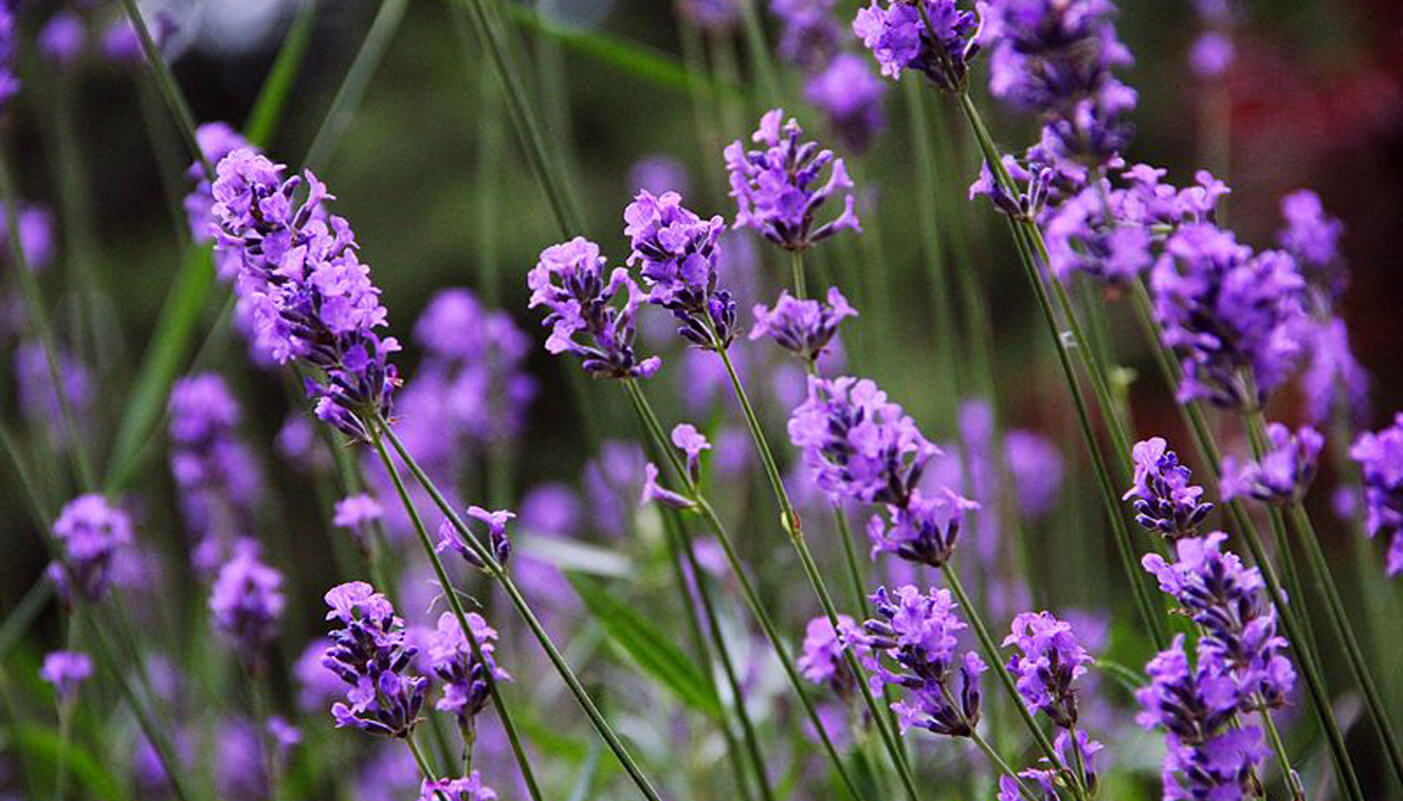
There are many herbs that can be planted as companions, with just a few examples here. The planting of Lavender with leeks and carrots takes advantage of its strong scent to deter insect pests. Lavender is also highly attractive to many pollinators such as bees, hoverflies and butterflies. So, planting it close to crops that often need a helping hand with pollination such as beans and tomatoes should increase how many pollinators visit.

Marigold Pot, Calendula officinalis, not to be confused with ornamental marigolds, is a fantastic companion for many plants. When planted with French and runner beans it can lure aphids away as well as attracting the beneficial insects to prey on aphids. It’s also very attractive to pollinators, increasing pollination of some vegetable crops, for example when planted under courgettes.

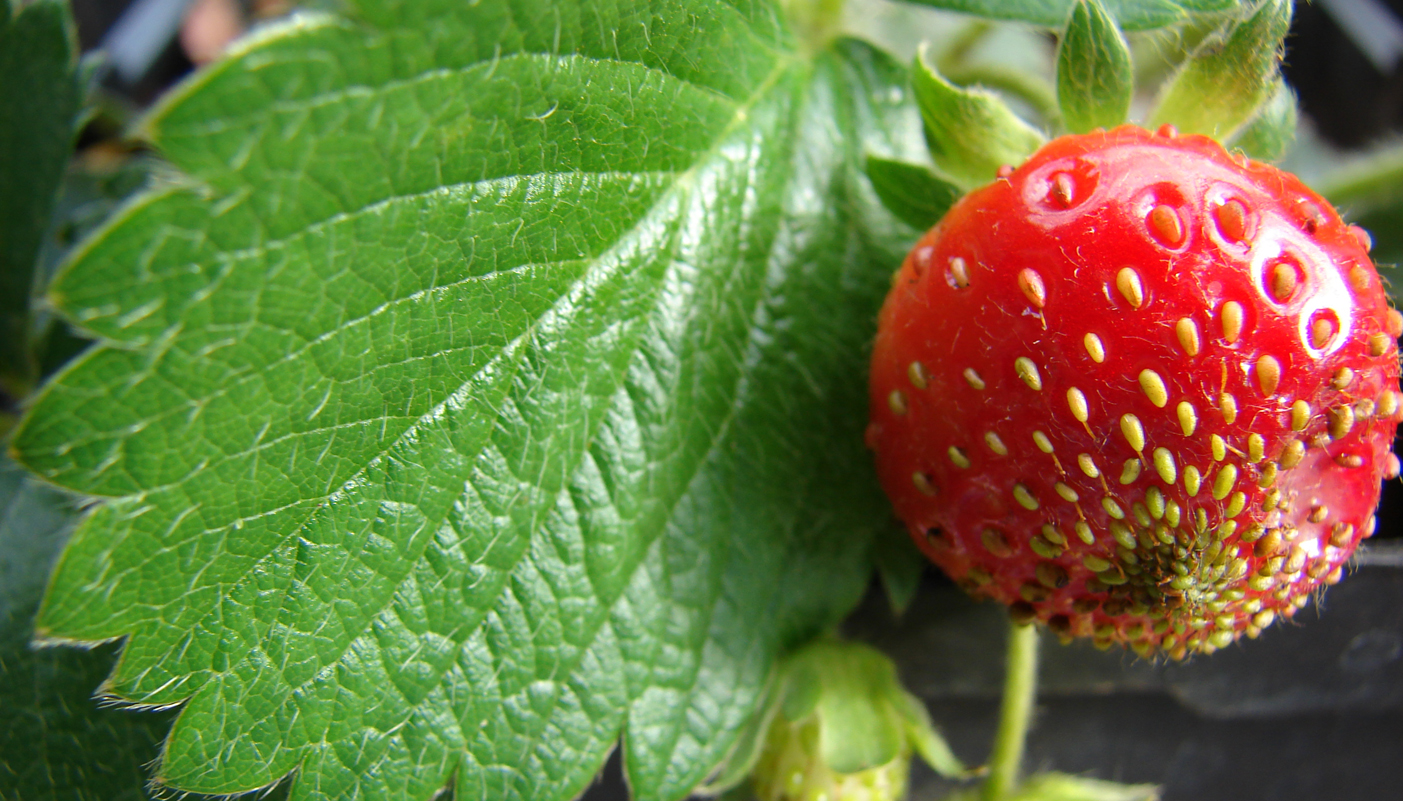
Planting Borage, Borago officinalis, near strawberries is said by many to improve their flavour. Borage’s pretty star like blue flowers are a favourite of many pollinators, especially bees. Try growing Borage under fruit trees to help pollinate crops.

Chervil helps deter slugs and snails, plant it thickly to protect lettuces, broccoli and radishes. The Nasturtium family attracts the cabbage white butterflies to lay their eggs on them rather than on brassicas as well as deterring aphids form beans.

Companion planting is most common in the vegetable garden but other plants, such as roses, also benefit. Growing herbs and vegetables together saves space, aids pollination as well as discouraging pests and preventing disease. The end result is higher crop yields for less work, a win win!

Angelica
Angelica
by Hetty (CL) | 27th February 2023

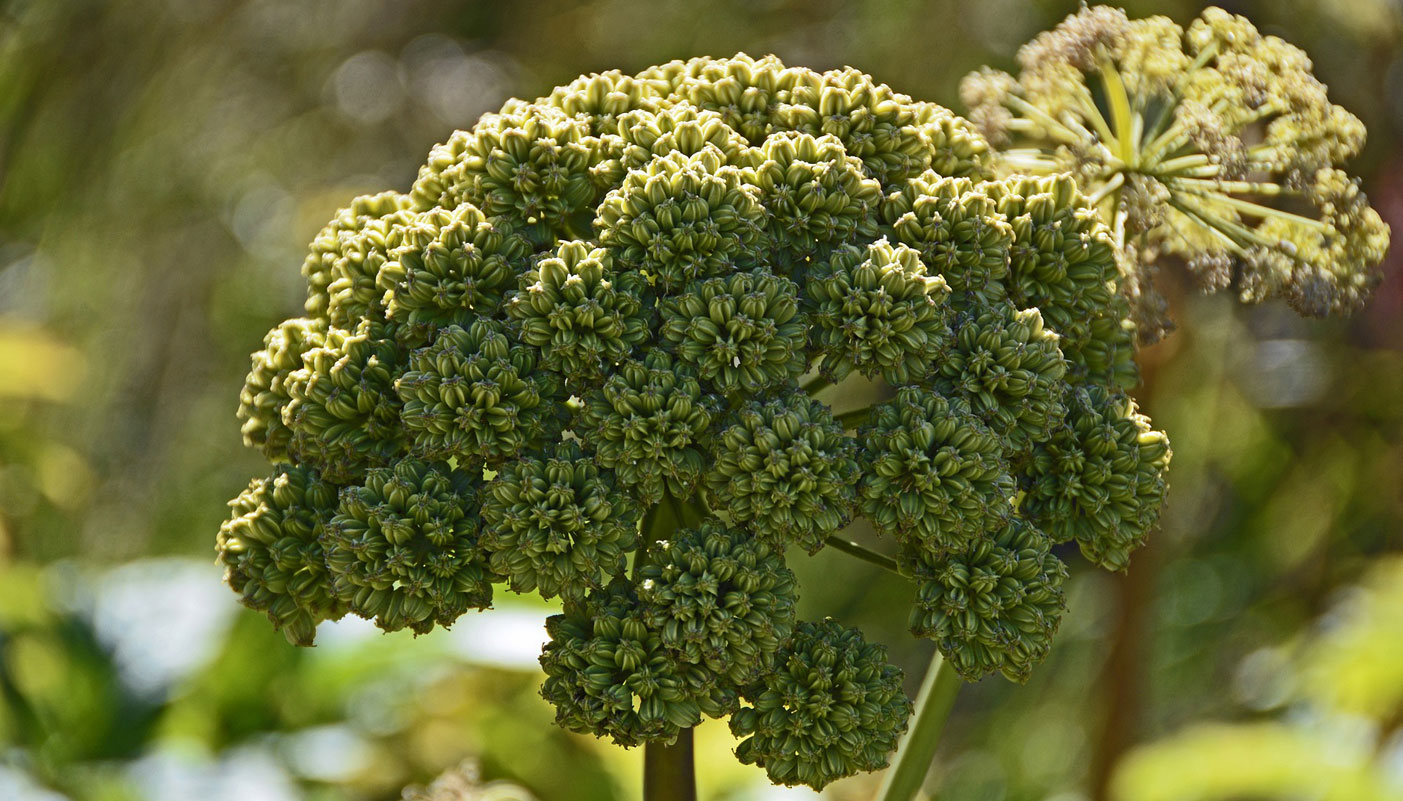
Angelica archangelica, commonly known as garden angelica or wild celery (other names include angel’s fishing rod, archangel, aunt Jericho
ground ash, Holy Ghost, root of the Holy Ghost and St Michael’s flower)
, is a biennial herb that has been valued for centuries for its medicinal and culinary uses. Native to northern Europe, it is a tall and striking plant that can grow up to six feet tall with large, fern-like leaves and clusters of small greenish-white flowers.

Growing Information: Angelica archangelica is a hardy plant that is relatively easy to grow. It prefers cool and damp conditions and is often grown in gardens or along streams and riverbanks. Here are some tips for growing angelica archangelica:

  1. Planting: Angelica archangelica is typically grown either a 9cm pot or a more established 1 Ltr pot.  Plant in the spring or autumn in a location that gets partial shade and has well-draining soil.
  2. Soil: The plant prefers moist, fertile soil that is rich in organic matter. Add compost or well-rotted manure to the soil before planting.
  3. Watering: Angelica archangelica requires consistent moisture, so be sure to water regularly, especially during dry spells.
  4. Fertiliser: Angelica archangelica does not require a lot of fertiliser, an environmentally friendly fertiliser such as Maxicop Seaweed in the spring can help the plant grow stronger and healthier.
  5. Harvesting: The leaves and stems of angelica archangelica can be harvested in the second year of growth, typically in the summer when the plant is in bloom. The roots can be harvested in the autumn of the first year or in the spring of the second year.

Angelica is a versatile herb that is used in both sweet and savoury dishes. Some ways to use it in cooking are as follows:

  1. Candied Angelica: The stems of angelica can be candied and used as a garnish or a sweet snack. To candy angelica, blanch the stems in boiling water, then simmer them in a sugar syrup until they become translucent. Remove the stems from the syrup and let them dry on a wire rack before using them.
  2. Angelica Tea: Angelica leaves and stems can be used to make a fragrant tea. Simply steep the leaves and stems in hot water for 10-15 minutes, strain, and sweeten if desired.
  3. Angelica Infused Oil: Angelica leaves can be infused in oil and used to flavour salad dressings, marinades, or roasted vegetables. To make angelica oil, gently heat oil (such as olive oil) in a pan with angelica leaves until the oil is fragrant. Strain out the leaves and use the oil as desired.
  4. Angelica in Baking: Angelica can be added to baked goods such as bread, cakes, and biscuits. Dried angelica can be chopped into small pieces and added to the batter or dough. The herb’s unique flavour profile pairs well with citrus flavours and can add a sweet and tangy note to baked goods.
  5. Angelica in Savoury Dishes: Angelica can be used to flavour savoury dishes such as stews, soups, and roasted meats. The herb’s strong flavour profile can balance out rich or fatty dishes. Use the leaves and stems chopped finely as a seasoning, or add whole stems to the cooking liquid and remove before serving.

It’s important to note that angelica is a potent herb, and the leaves, stems, and seeds can be toxic in large quantities. As such, it’s important to use the herb in moderation and follow recommended guidelines for safe consumption.

In addition to its use in cooking, angelica archangelica has a long history of medicinal use. The plant contains a variety of compounds that have been shown to have anti-inflammatory, antibacterial, and antioxidant properties. Here are some additional uses of angelica archangelica:
  1. Digestive aid: Angelica archangelica has been used for centuries to aid digestion and relieve stomach problems such as bloating, gas, and indigestion.
  2. Respiratory health: The plant contains compounds that can help relieve coughs, colds, and other respiratory problems.
  3. Women’s health: Angelica archangelica has been used traditionally to regulate menstrual cycles and relieve symptoms of menopause.
  4. Skin health: Angelica archangelica has been used topically to treat skin conditions such as eczema, psoriasis, and acne.
  5. Aromatherapy: The essential oil of angelica archangelica has a calming and uplifting effect and is used in aromatherapy to relieve stress and anxiety.

In conclusion, angelica archangelica is a versatile and valuable plant that can be grown easily in the garden and has a variety of medicinal and culinary uses. Whether you are interested in cooking with fresh herbs or exploring natural remedies, angelica archangelica is definitely worth considering.

Lavender Hedging
Lavender Hedging
by Hetty (CL) | 24th February 2023
🌸🌿🌸💜 Transform your garden with the sweet scent of Lavender! 💜🌸🌿🌸

Our Lavender plants are perfect for hedging or bulk planting, and they will fill your garden with a calming aroma that you’ll love.🌺🌸

With its striking purple flowers and soft, silvery foliage, Lavender is an attractive addition to any garden. Not only does it look and smell beautiful, but it’s also a great plant for attracting pollinators like bees and butterflies.🦋🐝

Lavender is a popular plant known for its beautiful fragrance and stunning purple blooms. It’s often used to create hedges in gardens, adding a touch of elegance to any outdoor space. If you’re looking to plant a lavender hedge, here’s everything you need to know to get started.

Choosing the right lavender variety
Before you begin planting, it’s important to choose the right lavender variety for your hedge. There are several types of lavender available, including English lavender (Lavandula angustifolia) and French lavender (Lavandula stoechas). English lavender is the most popular variety for hedges due to its hardiness and lovely scent, we would recommend either Hidcote or Munstead.

Preparing the soil
Being a Mediterranean plant, Lavender is most suited to sunny positions, it will not survive if kept for long in shady, damp or extremely cold conditions.  It prefers poor, dry or moderately fertile soil, including chalky and alkaline soils. Lavender will not thrive in heavy clay soil or any soil that becomes waterlogged over winter, it requires well-drained soil, so it’s essential to prepare your soil before planting. Begin by removing any weeds and rocks from the area where you’ll be planting. Then, loosen the soil with a garden fork to a depth of around 30cm. Mix in some organic matter, such as compost or manure, to improve soil structure and fertility.

Planting the lavender
Lavender is best planted in April or May.  Once you’ve prepared the soil, it’s time to plant your lavender.  Start by digging a trench that’s around 15cm deep and 30cm wide. Space your lavender plants around 30cm apart, ensuring that each plant is at the same depth it was in its original pot. Gently firm the soil around each plant, and water thoroughly.

Caring for your lavender hedge
Lavender is a relatively low-maintenance plant, but it does require some care to thrive. Here are some tips for keeping your lavender hedge healthy and looking its best:

  • Watering: Lavender doesn’t like to be waterlogged, so it’s best to water it deeply once a week during dry spells rather than giving it frequent shallow waterings. Be sure to water at the base of the plant rather than on the leaves to avoid fungal diseases.
  • Pruning: Lavender should be pruned twice a year to keep its shape and promote new growth. Prune once in late summer after flowering, removing around two-thirds of the current year’s growth. Then, prune again in early spring before new growth appears, trimming back to just above the woody part of the stem.
  • Fertilising: Lavender doesn’t require much fertiliser, but you can give it a boost by applying a balanced fertiliser once a year in early spring.  If you feel that your plants require a little of attention we would advise an environmentally friendly option such as Maxicrop liquid seaweed
  • Pest and disease control: Lavender is generally pest and disease-resistant, but it can be prone to root rot if the soil is too wet. Avoid overwatering and ensure good drainage to prevent this. You can also use an organic insecticide or fungicide if necessary.

Planting a lavender hedge is a wonderful way to add beauty and fragrance to your garden. With a little bit of preparation and care, your lavender hedge will thrive and provide years of enjoyment. Choose the right variety, prepare your soil, plant your lavender, and care for it properly, and you’ll soon have a stunning hedge that will be the envy of all your neighbours.

Verbena Lemon and 6 Other Unusual Herbs You Need to Try in 2022

Verbena Lemon

Lemon Verbena is a herb that is widely used in restaurant kitchens, but its delicious flavours are a must-have in your home kitchen. The tall stems of the verbena produce lemon-scented, long green leaves. These leaves have a lemony flavour that is complemented by a slight sweetness, giving you all the refreshing qualities of a lemon without bitterness. This herb can be used to flavour roast dinners, ice creams or salad dressings as well as infuse teas. It naturally goes particularly well with fish dishes and can be infused into olive oil to make a wonderful dip or light cooking oil.

How to grow lemon verbena at home

Plant your Lemon Verbena in a sunny location that has well-draining soil. This tender perennial doesn’t deal well with cold temperatures so you should make sure that your chosen location is protected from cold winds. Water the plant regularly to keep the soil moist but not wet. The verbena lemon benefits from regular feeding with a diluted liquid fertiliser in the summer.

How to harvest Verbena Lemon

You can usually harvest your verbena lemon leaves between July and October. To harvest, simply prune the required springs from the plant just before you need to use them. Regular harvesting is recommended to keep the plant growing well. If you find that you are producing more leaves than you need, then the leaves can be easily dried for use out of season.

Salad Burnet

The leaves of Salad Burnet have a nutty flavour and a slight cucumber taste. The latter is why it is often added to Gin & Tonic as a garnish. It is a perfect addition to salads, especially when taking the new shoots, which are tastier and easier to digest. As it is an evergreen perennial, it enhances any winter salad. It’s also a great alternative to use in place of parsley as a garnish for many dishes. It produces dense heads of tiny red flowers in early summer.

How to Grow Salad Burnet

Salad Burnet can be propagated easily from seed or a small plant in spring and is happy in a container. If growing in a container, ensure you water regularly and feed with liquid fertiliser.

Chicory

Chicory is great raw in salads, but it can also be braised, roasted, and used in stir-fries and soups. The beauty of chicory is that it requires very little preparation, and there is almost no wastage.

Chicory is at its best when the leaf tips are yellow, if it has green tips, it is likely to be too bitter for salads. Chicory can be cut in various ways, for example, sliced lengthways, chopped or diced. Alternatively, you can peel off the leaves and use them for salads or a garnish. If using the root in cooked dishes, cut off the end of the stalk and cook the whole bulb in salted water until tender.

Lovage

The entire Lovage plant is edible, from root to tip, and it has a bright, fresh flavour that tastes a bit like citrusy celery. It not only tastes similar, but it also looks a lot like celery. It is packed with vitamin C and various B-complex vitamins, it also contains quercetin, a plant pigment with anti-inflammatory and antioxidant properties.

Lovage needs minimal care, and it will reseed itself readily, so you won’t have to replant it over and over; however, it won’t become invasive. Tiny yellow-green flowers in umbels form in mid-summer. It is suitable for growing any fertile, free-draining soil in a sunny position. The leaves can be used in salads, including Potato Salad.  Lovage root can be eaten as a vegetable, and the seeds can even be used in bread.

Nasturtium

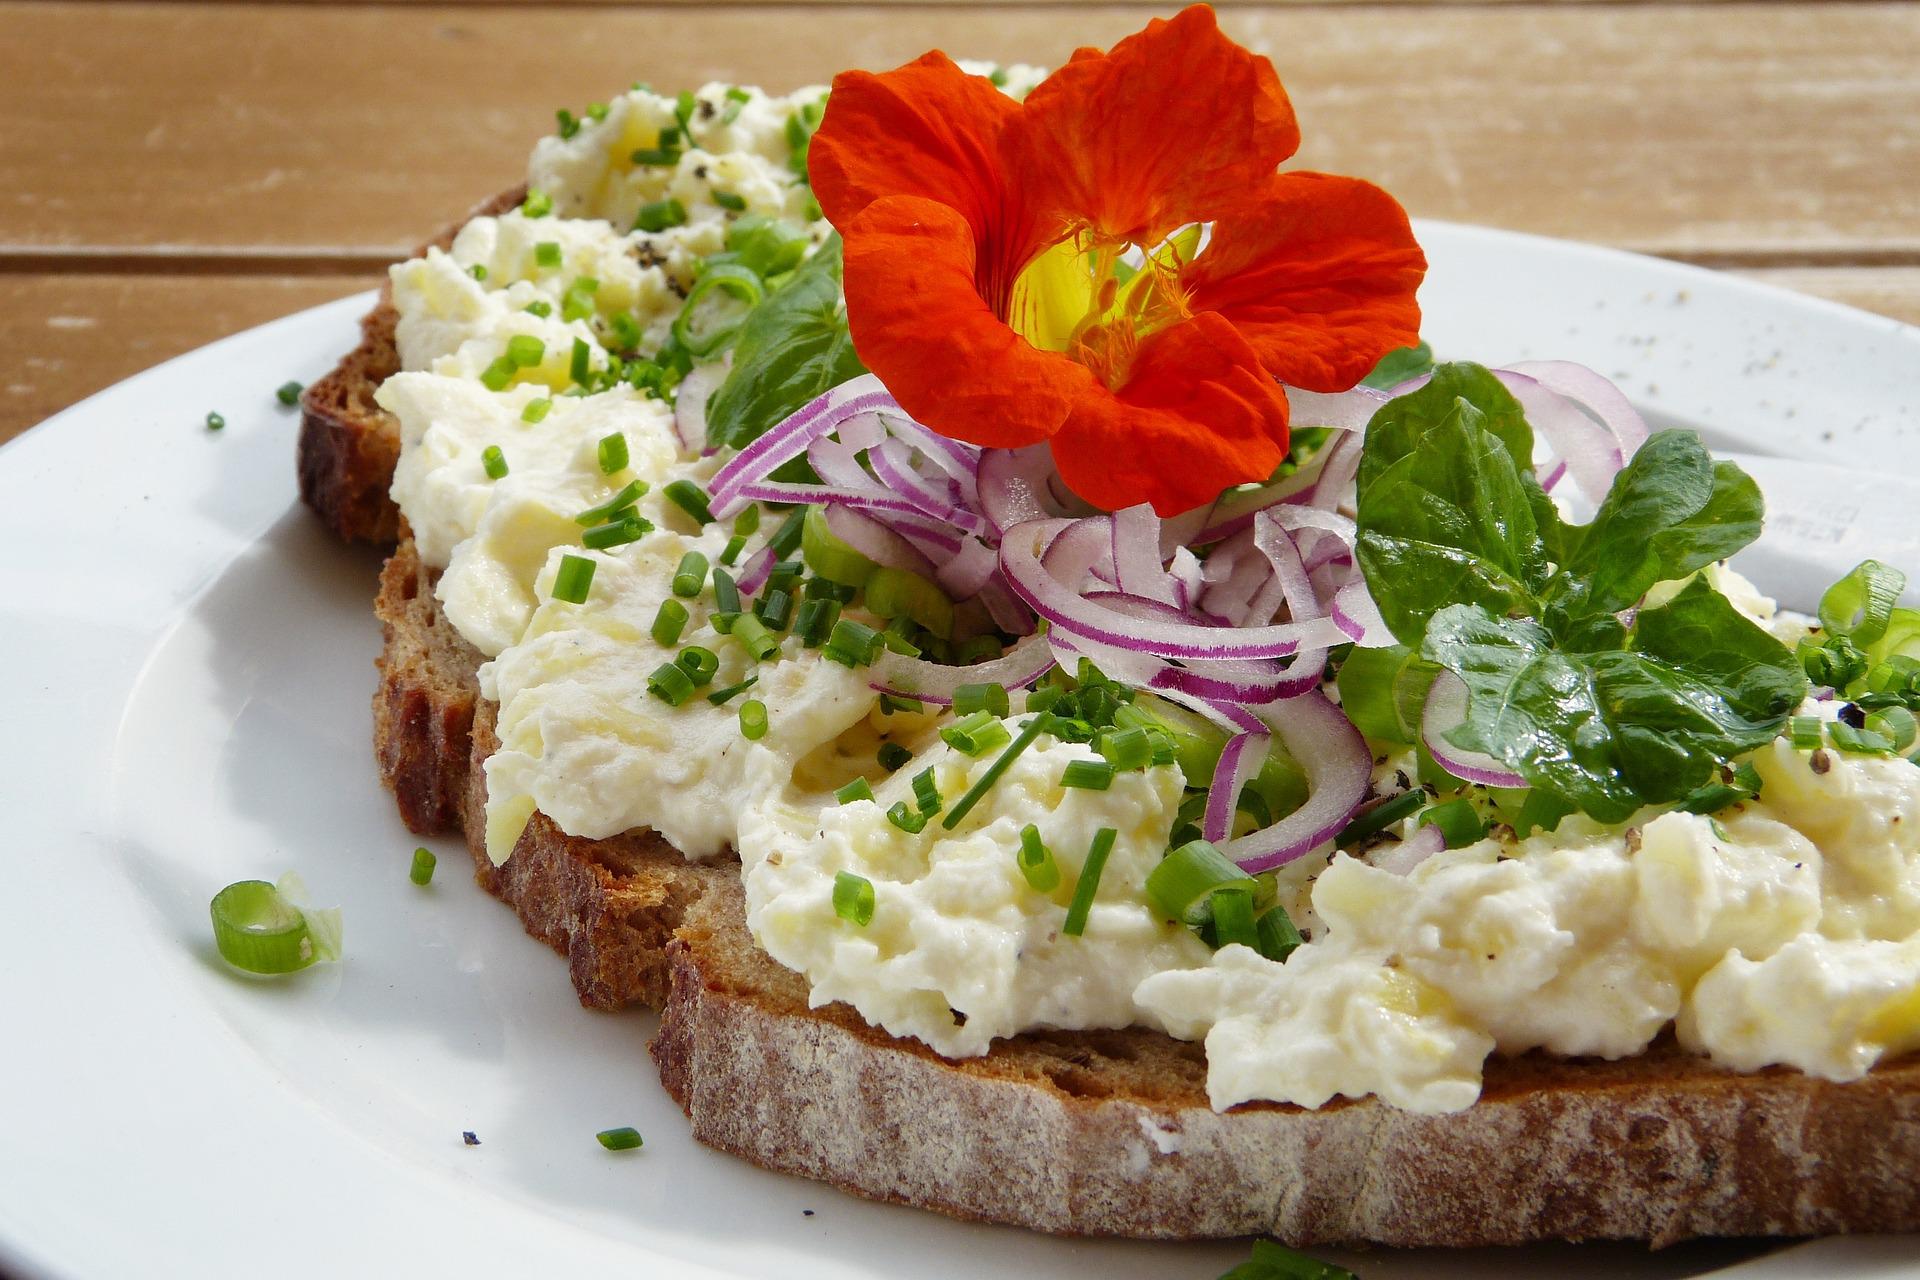
Nasturtiums are known and loved for their distinctly peppery flavour. All parts of the nasturtium are edible, the leaves, the flowers, and the seeds. The flavour of nasturtiums is similar to watercress. Nasturtium leaves and flowers taste spicy, almost peppery, with no noticeable fragrance. Use young nasturtium leaves and flowers in fresh salads, sandwiches, or as a garnish. Add flowers or leaves on top of steamed vegetables. Use flowers to garnish salads and cold soups. You can Use preserved nasturtium seed pods as a substitute for capers in tartar sauces and spiced mayonnaise and with tuna and hard-boiled eggs.

Sorrel

Sorrel can be used in salads, stir-fries, marinades, soups, and casseroles. It pairs well with fish, as well as cream, yoghurt, and cheese. It has a distinctive sour, lemony flavour. Sorrel falls straight between being a herb and a green. You can use it as a leafy herb, like parsley or basil or mint, chop it up to use in marinades and dressings, or by stirring it into soups or casseroles for the addition of fresh flavour. Or, you can use it as a green, ripping the tender leaves into salads and stir-fries.

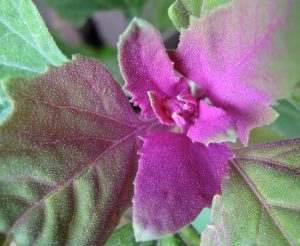
Tree Spinach

Tree Spinach is a fast-growing and leafy perennial shrub used in many South American dishes and cuisines. It is a leafy perennial that provides produce all year-round and is quite a simple plant to grow. The leaves are about three times the size of your usual leafy green, if not more, so you get a lot from just one plant.

Although it is delicious, you do need to take some precautions when harvesting and using it in food dishes. Make sure you wear gloves as they can have a milky latex in the stems. They often have fine hairs, which can aggravate some people’s skin. The leaves of tree spinach contain a toxin that needs to be cooked out. They contain cyanogenic glycosides which, when damaged at harvest, can break down to form hydrogen cyanide. However, don’t let it put you off, as it’s easy to neutralise.

Making Tree Spinach safe to eat

According to Morning Chores “Cooking breaks all of the above down. The suggested boiling time is 15 to 20 minutes. After this, you can use it in your dishes or cook it further in butter or oil. You can also blend the leaves in a blender or dry them to get rid of the cyanide. Don’t cook in aluminium, or you will create a poisonous chemical reaction. And it’s important to note that you don’t inhale the vapour from the boiling leaves.”

Have you added any of these unusual herbs to your cooking already? Are you going to add some to your herb garden this summer? Start adding unusual herbs to your 2022 collection now.

Hetty’s Herbs Fresh Herb Pairing Guide: Beef
by Hetty (MS) | 10th June 2022

Herbs are a fantastic part of home cooking and can give you a delicious boost to the flavour of your dish. However, different meats need different seasonings to enhance the flavours of each of the ingredients.

The joy of cooking is experimenting but if you’ve found your signature recipe and enjoy it, keep doing it. If you want to shake up your meals and try something new, our herb pairing guides offer some direction on where to start. You can find our other pairing guides here.

Beef has a strong flavour and usually requires herbs and spices that can punch through. The herbs and other seasonings in your beef dishes will vary depending on the recipes that you are following. So, if you are ready to start experimenting and want to find out what herbs go with beef, keep reading.

How to Flavour Beef

Beef has a deep, rich flavour. Depending on the amount of fat present in your particular cut, the flavour will alter slightly. Beef provides the ideal base for a multitude of dishes.

The preparation of beef also changes the flavour and texture of the meat which is why it is typically recommended that you allow the beef to rest both before and after cooking. The resting period before cooking is the perfect time to marinade any seasoning into the meat.

The cooking method you use will add to the flavour of your dish. Pan-frying a steak, for example, will provide succulent meat with a slight smokey taste. However, slow cooking seasoned beef chunks will allow the beef to take on whatever flavours the stew combines.

Perfect Herb Pairings for Beef

So many herbs and spices go with beef, and how you flavour your meat will depend on your preferences. Some classic beef seasoning blends include a bbq rub or a variety of chilli rubs.

Beef goes with an extensive range of herbs, and these help to elevate the flavours of the meat. If you’re looking for a pan-frying recipe for steak, you will most likely find something involving rosemary and garlic. However, some other beef recipes include oregano, thyme, sage and tarragon.

Rosemary

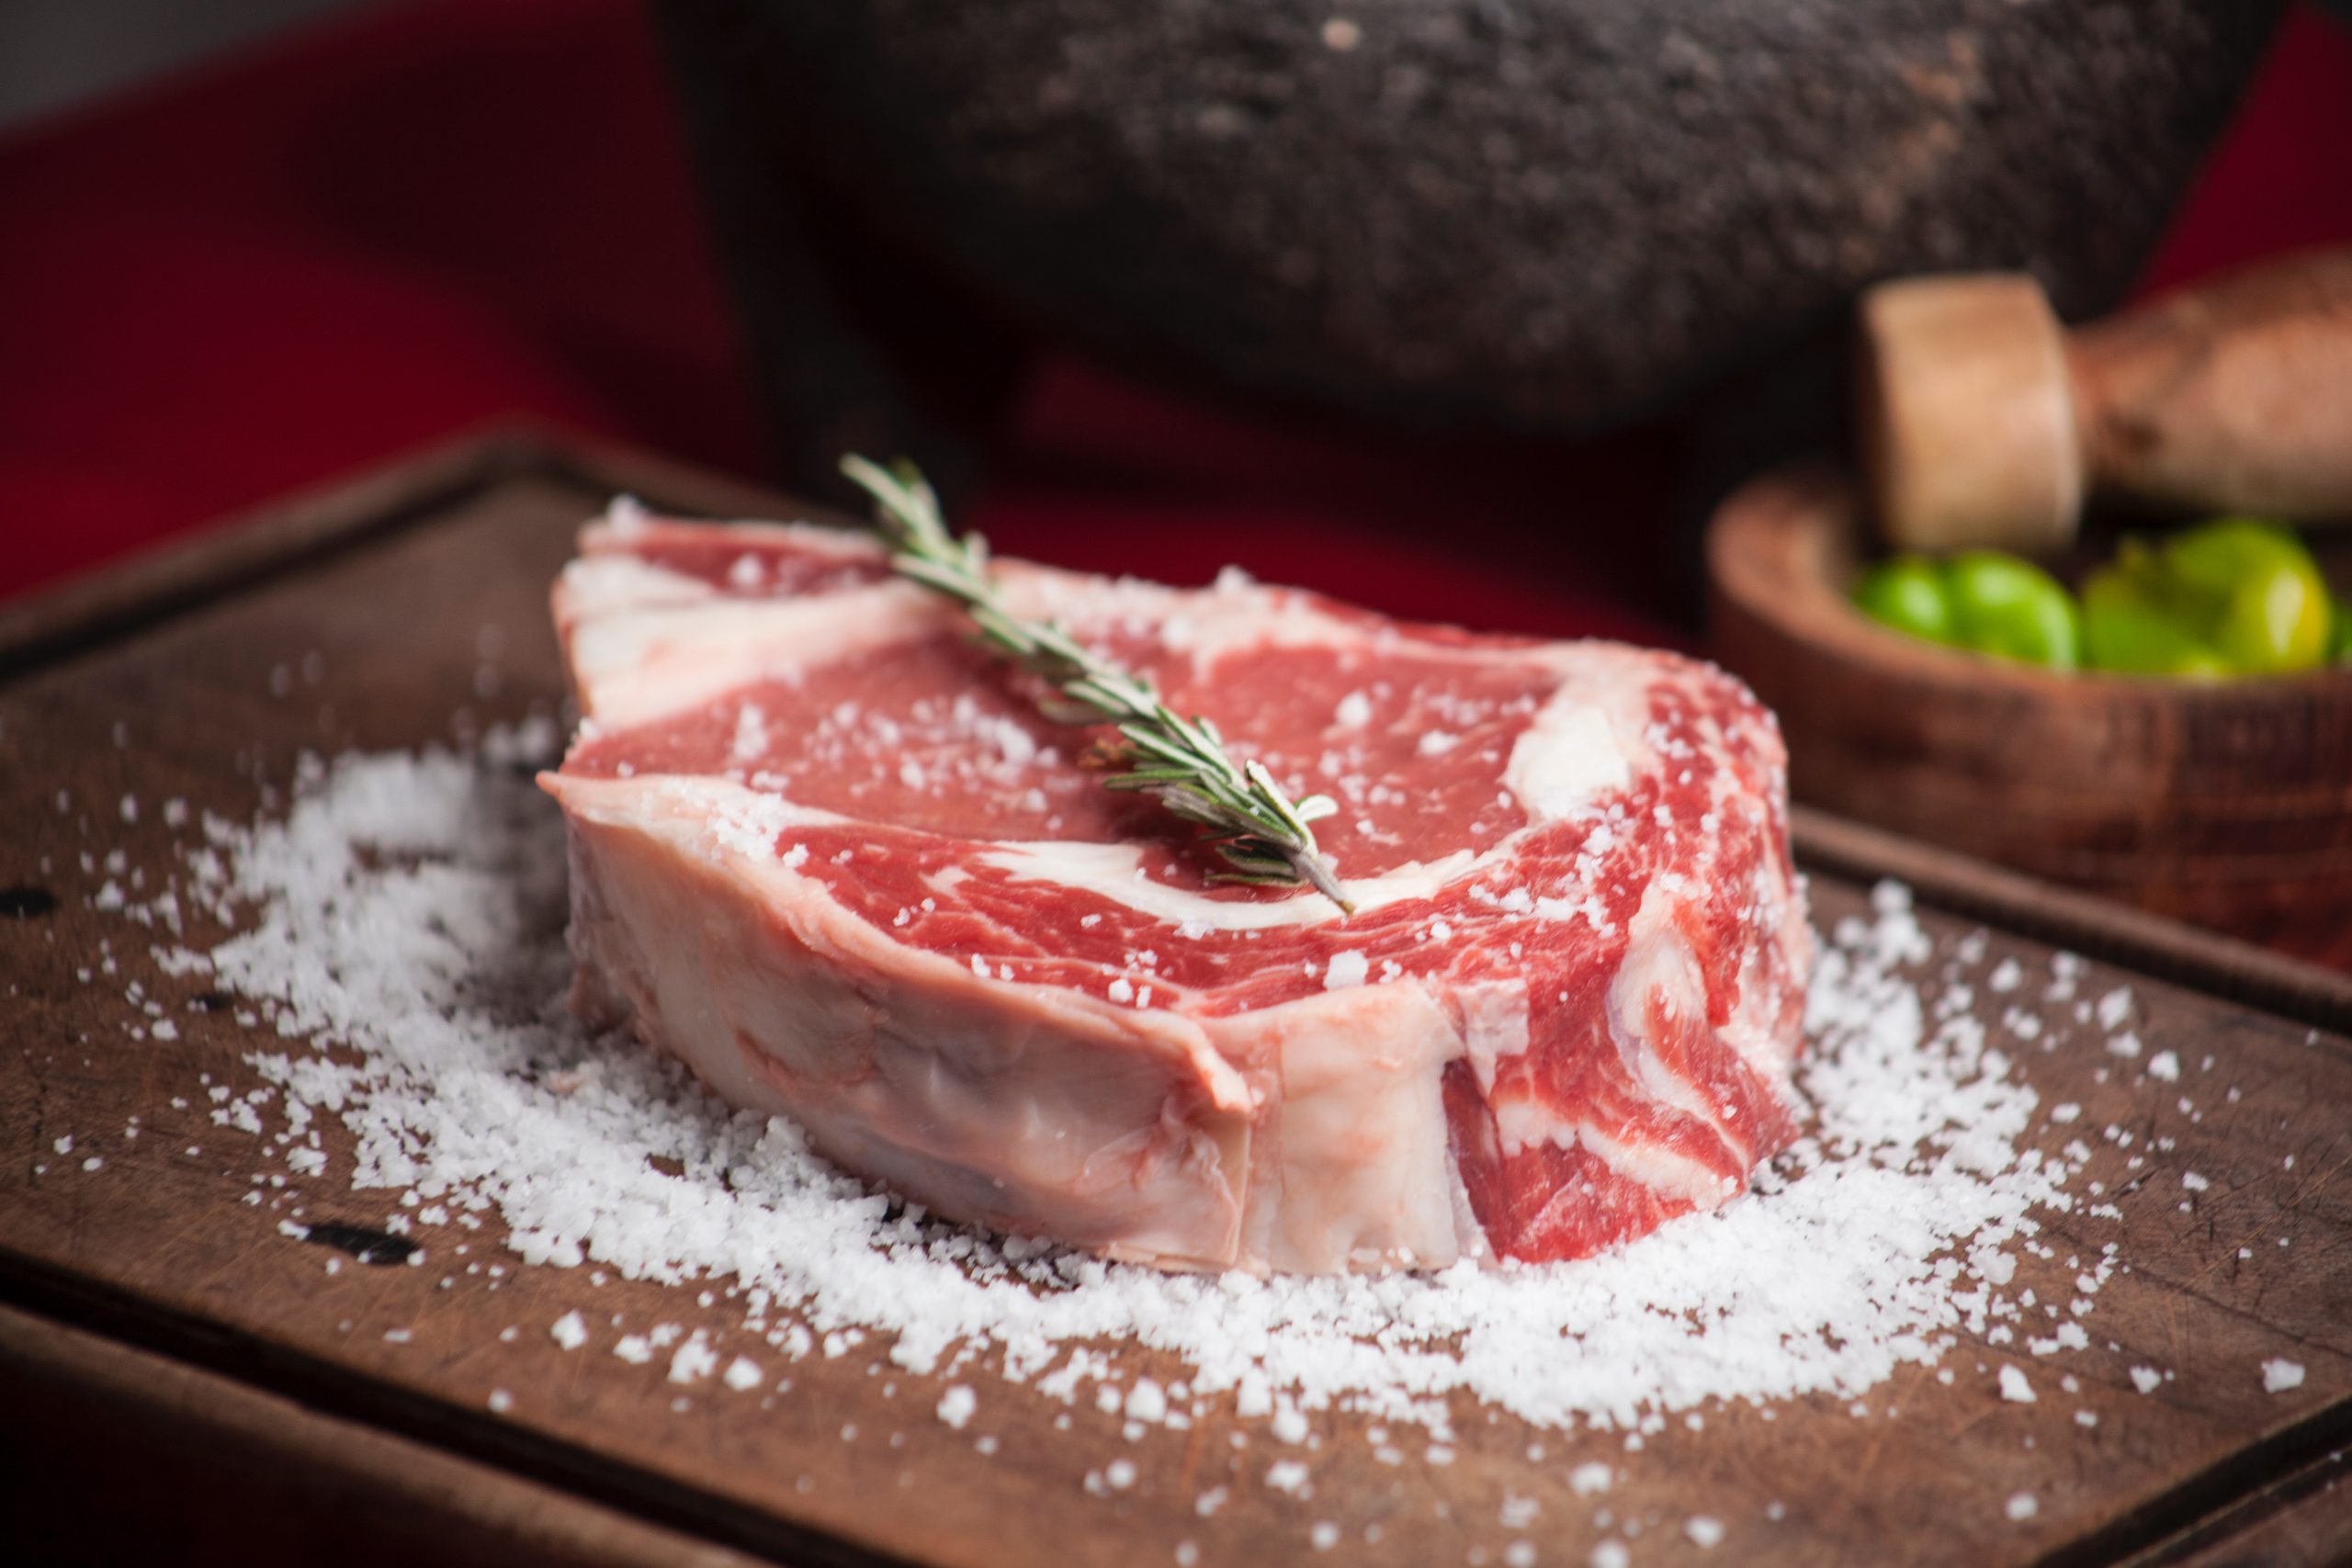
Rosemary has a slightly minty, peppery taste that keeps its flavour well throughout cooking. It is perfect for seasoning steak which is being pan-fried as it doesn’t burn with butter. It pairs well with garlic and thyme. Sprigs of rosemary can be placed on top of beef as it roasts and will hold up exceptionally well throughout.

Recipe idea: Try pan-frying your steak and basting throughout with rosemary-infused butter. Simply chop your rosemary into your slightly melted butter and use a brush to baste.

Oregano

Oregano has a slightly bitter taste with herbaceous and earthy flavours. This delicious herb can be a great addition to beef stews and steak sauces. This earthy seasoning offers an aromatic flavour that you can use fresh or dried. Oregano is great when combined with rosemary and thyme, and it can form the basis of a straightforward herb rub for many types of meat.

Sage

Sage has a mint and citrus flavour, which cuts through any fatty taste that your beef has. Finely chopped Sage can be used to create a delicious herb butter as a steak seasoning or added to stews throughout cooking. Sage can be overpowering if used fresh but cooked or incorporated into dumplings, it will work well.

Thyme

Similar to rosemary, thyme is a superb addition to steak seasoning. Many chefs use this herb to add flavour during basting, in the same way as rosemary. You can also try combining different herbs to create your own beef recipe. Thyme leaves can be used fresh or dried. Thyme also works well as a bouquet garni, tied together with sprigs of rosemary, oregano and some bay leaves.

Tarragon

Tarragon is a delicious blend of bitterness and sweetness and provides a fragrant aroma which is perfect for accompanying beef. Tarragon can be paired with beef as well as with side dishes such as sauteed mushrooms to create a delicious mushroom sauce.

Tarragon is not to everyone’s taste as it gives an anise or light liquorice flavour to your dish. When combined with other herbs like thyme and rosemary, it can form a nice layer of flavour with your beef. It’s ideal in a herb rub and left to marinate overnight, and the sweetness will counter the richness of your beef.

Bay Leaves

Bay leaves are perfect in beef casseroles or stews. The leaves are sharp to the bite, so it’s best to let them steep in the juices and then remove them before serving. The robust herbaceous and piney aroma and the sharp earthiness of a bay leaf really stand up to the robust flavours of beef. Bay can be a little astringent; however, combining it with other herbs such as rosemary and thyme will help.

The best herbs for beef dishes

When cooking any type of beef dish, there are a variety of herbs that can be useful in drawing out the flavour. These herbs tend to have a citrus aroma as well as a hint of pepper. These herbs cut through any fatty flavour of beef and draw out the rich undertones from the meat.

Beef is a highly versatile meat that can be used in a huge range of dishes. The rich flavour is delicious in stews, moussaka or as a spicy Chilli Con Carne. Of course, there’s the beautiful simplicity of roast beef or a great steak.

Herby Dijon Roast Beef with Rosemary Roast Potatoes

This roast beef dish from Delicious Magazine is the perfect example of pairing herbs with beef. This herby roast beef joint served with a zingy tarragon remoulade is perfect for family lunches and special occasions.

Ingredients:

1kg small waxy potatoes, such as charlotte or jersey royals

1.2kg organic rolled beef sirloin, at room temperature

2 tbsp olive oil

2 tbsp dijon mustard

3 tbsp chopped fresh parsley

3 tbsp chopped fresh oregano

4 tbsp finely chopped fresh rosemary leaves, plus a sprig

For the remoulade:

2 medium free-range egg yolks

½ tbsp dijon mustard

250ml sunflower oil

1 tbsp crème fraîche

50g cornichons in vinegar, drained (reserve 1 tbsp vinegar), finely chopped

2 tbsp capers, drained and rinsed, finely chopped
3 tbsp finely chopped fresh tarragon

Grated zest and juice ½ lemon


Method:

  1. Heat the oven to 180ºC fan/gas 6. Put the potatoes in cold salted water, bring to the boil and simmer for 15-20 minutes. Drain, leave to cool a little, and then peel while still hot. Leave to cool completely.
  2. Heat a dry frying pan with 1 tbsp oil. Pat the beef dry, sear it on all sides, and then put on a baking tray. Season, then brush the mustard over the top and sides. Press half the herbs lightly onto the mustard, then roast for about 25 minutes for medium rare. Remove, cover with foil and rest for 10 minutes (the internal temperature after resting should be 55-60ºC; it will rise in temperature while resting).
  3. Meanwhile, for the remoulade, mix the yolks with the mustard and a pinch of salt. Whisk in 1 tbsp of the oil, drop by drop, until the mixture starts to thicken and emulsify, then whisk in the remaining oil in a thin trickle. Mix in the crème fraîche, cornichons, capers and cornichon vinegar. Stir in the tarragon, lemon zest and juice, then season. Cover and chill in the fridge
  4. Heat the remaining 1 tbsp olive oil in the pan used to sear the beef, then stir-fry the potatoes for 8-10 minutes until crisp. Add the rosemary sprig after 6 minutes. Season.
  5. Sprinkle the remaining herbs over the meat, then serve with the potatoes, remoulade and your favourite seasonal greens.
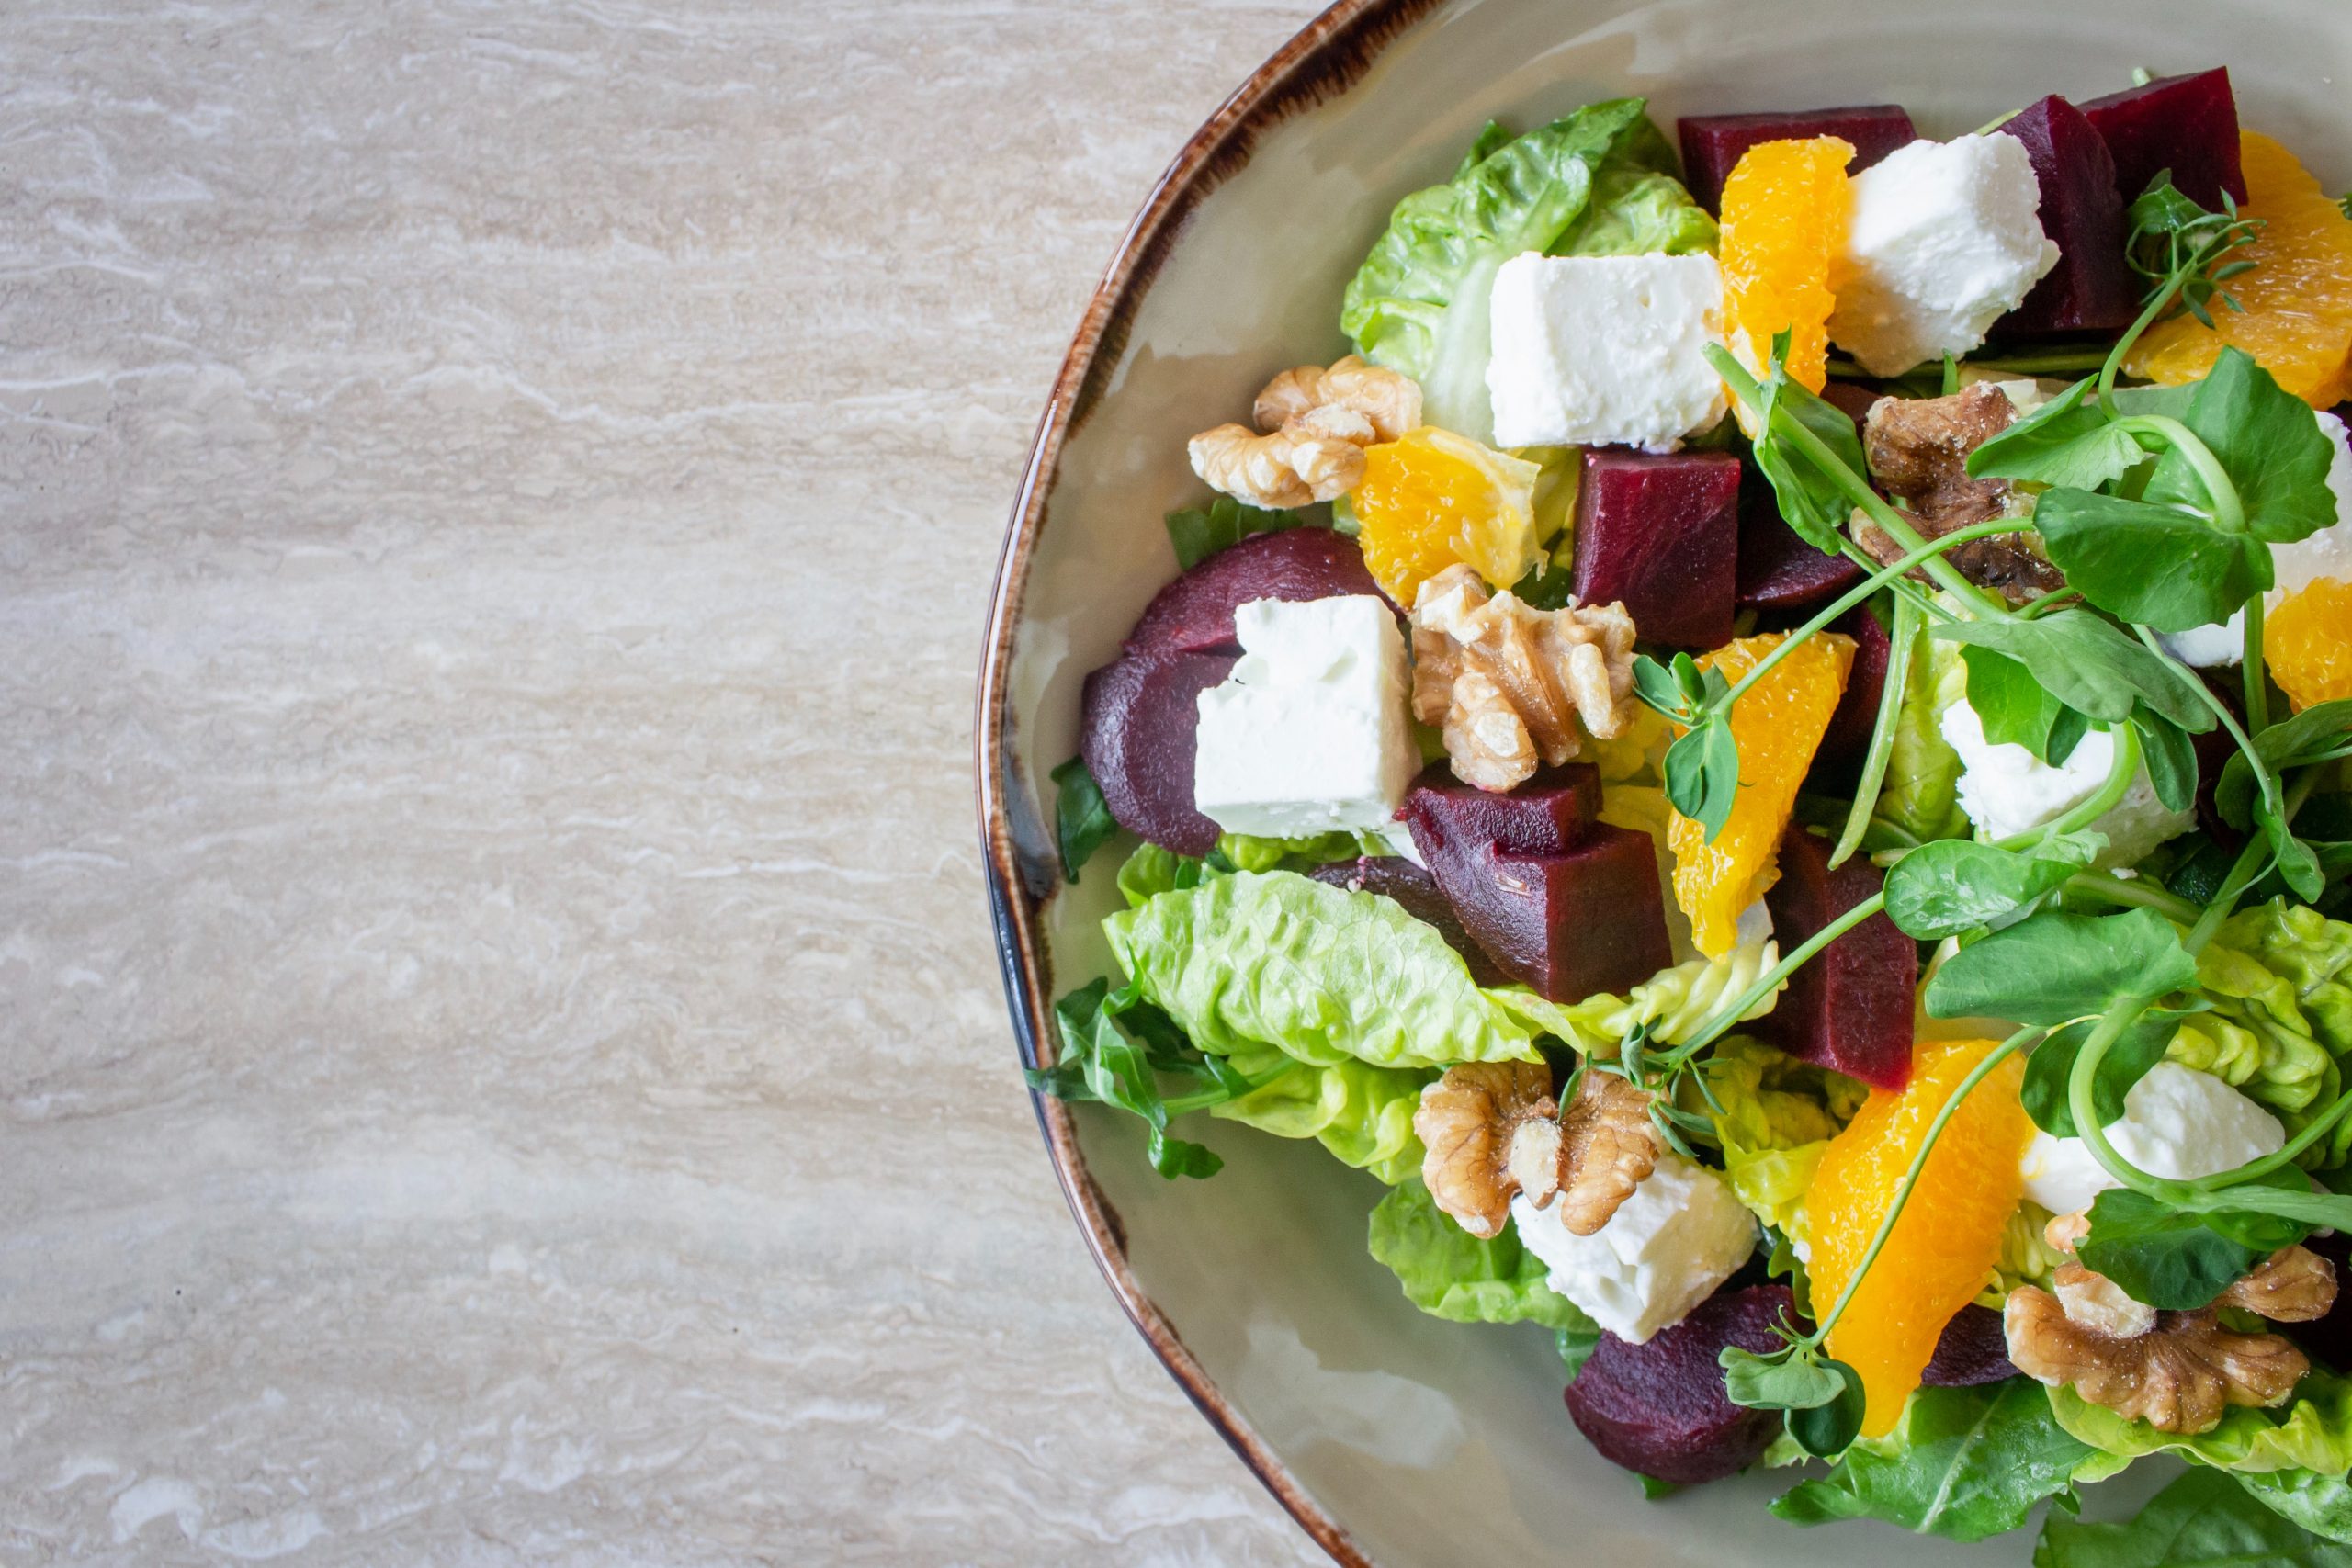
Summer Salad Ideas and how to Elevate them with Fresh Herbs

Summer is the perfect time to experiment with salad combinations. It’s easy to fall into using the same ingredients time and again, but there are pretty limitless options when it comes to creating amazing salads that taste delicious as well as being super good for you, not to mention packing in all kinds of nutrients. But have you ever thought of using herbs to really elevate those summer salads to the next level of tasty?

We’ve found some mouthwatering salad ideas and come up with suggestions on how herbs to use to make them even better.

How To Use Fresh Herbs In Salads
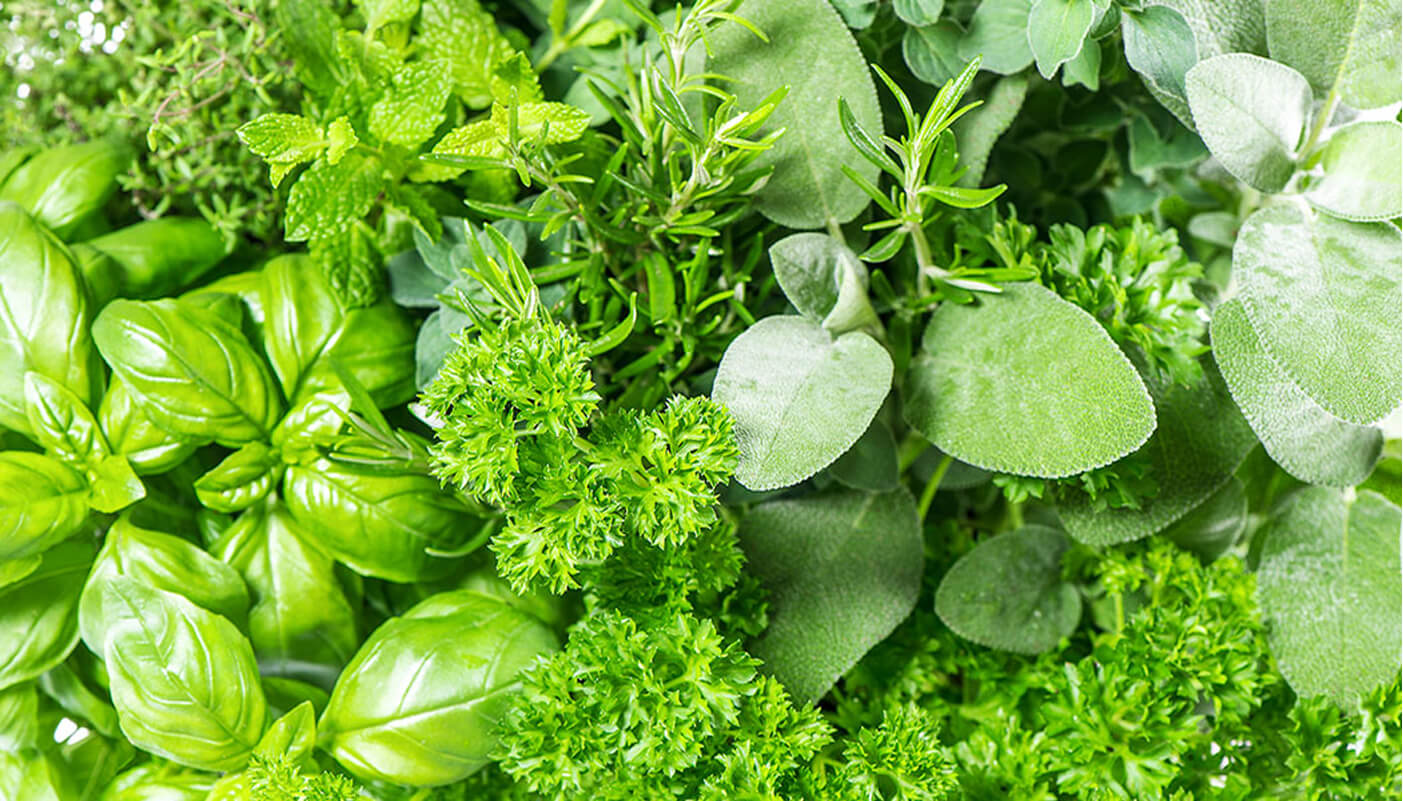
There’s no doubt that fresh herbs can pack a punch to any dish, and salads are no exception. Let’s face it, a standard salad made up of lettuce varieties and often bland vegetables and protein can be pretty dull. Here’s how you can use the most popular herbs in your salads to make them extra tasty:

Basil

Flavour: Depending on the variety, basil’s flavour includes hints of pepper, mint and anise.

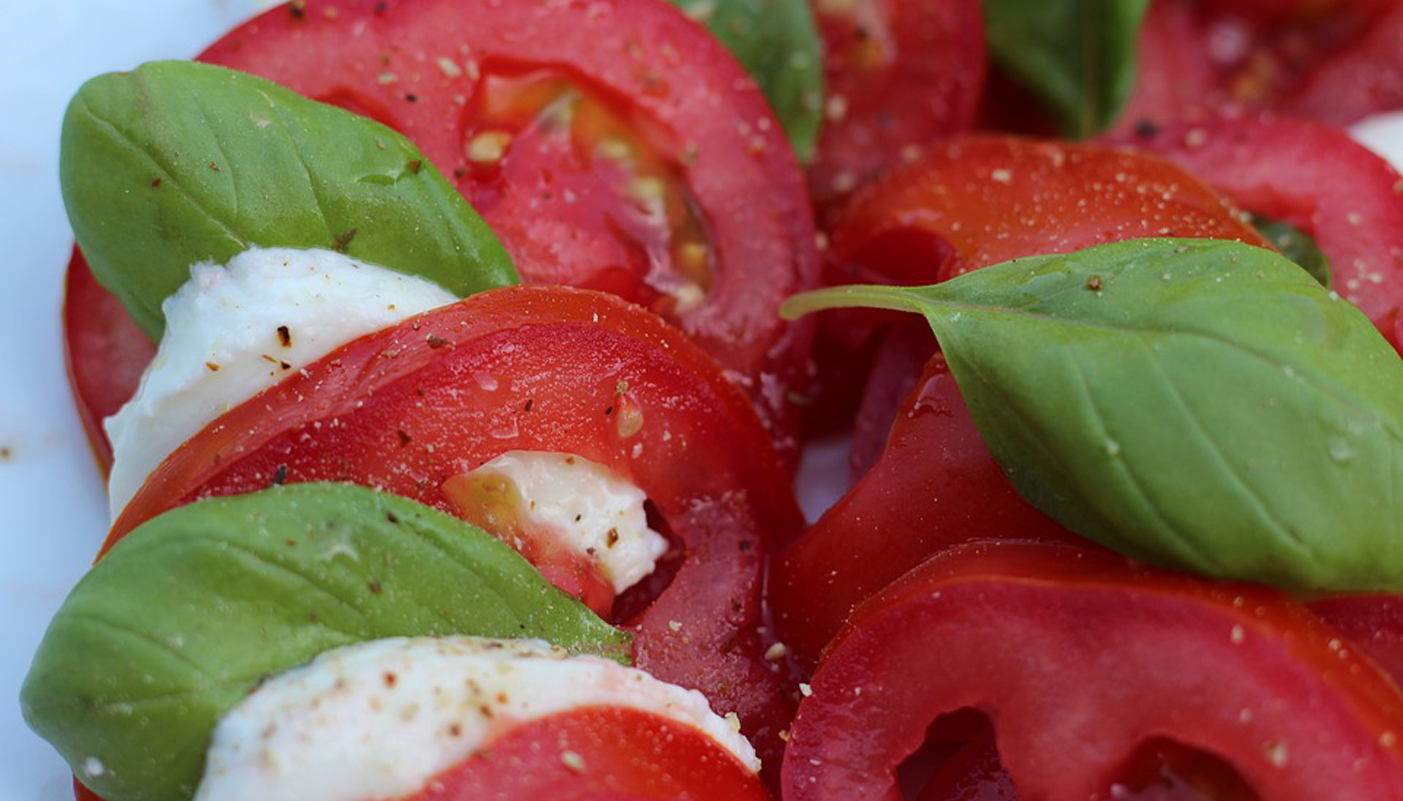
How to Use It: This aromatic herb pairs well with cheeses and fresh tomatoes and works incredibly well with Italian-inspired salads.

Chives

Flavour: Chives have a mild onion flavour.

How to Use It: Chives are a great addition to potato salads! Fresh chives also pair well with the strong flavours in any Cobb salad recipe.

Mint

Flavour: Mint ranges from peppery to strongly menthol in taste.

How to Use It: Mint is a common ingredient in Mediterranean cuisine; therefore, perfect in Mediterranean style salads. It pairs well with citrus and salty cheeses such as feta as well as fresh cucumber.

Thyme

Flavour: Thyme has a spicy, slightly sweet and woody flavour.

How to Use It: Thyme works well with poultry making it perfect for a chicken salad. It also goes well with strong cheeses.

Parsley

Flavour: Parsley has a fresh, celery-like flavour with bitter undertones.

How to Use It: Parsley is a super versatile herb and works with most food pairings, including potato and pasta salads. It’s also a great addition to grain salads such as Quinoa.

Dill

Flavour: Dill has a subtle liquorice or fennel-like flavour. It is best to use it in small quantities, as too much can overwhelm a dish.

How to Use It: Due to its delicate appearance and mild flavour, dill works well in spring salad recipes and pairs well with spring vegetables such as asparagus and peas. It’s also a perfect addition to salad dressings.

Summer Salad Recipe Ideas


There are all kinds of salads you can make quickly this summer, and it’s not all lettuce and tomatoes. Some ideas for making the most of the season’s ingredients include:

  • Pasta Salads – either hot or cold, pasta salads are not only delicious but also filling too.
  • Cobb Salads – a super easy salad usually with your chosen ingredients set on a bed of romaine lettuce
  • Potato Salads – creamy, super tasty and great with added herbs such as dill or parsley
  • Greek Salad – a mouthwatering fresh salad consisting of fresh romaine, chunks of cucumber, salty Feta, tart olives and a bright, zesty dressing.
  • Fruit Salads – Take your summer salad beyond the main course with a fruit salad. Use mint to garnish for a super fresh desert


We’ve found so many amazing salad recipes but here are a few of our favourites.


All Summer Pasta Salad


Found on Country Living’s Website, they promise that it’s the only basic pasta salad recipe you’ll ever need. A bold statement, but having the recipe, it could quite well be right.

Ingredients:

For the Dressing

1/2 cup red wine vinegar

1/4 cup olive oil

2 tbsp. Dijon mustard

1 tsp. Sugar

For the pasta salad

1/4 red onion, thinly sliced

1 lb. rotini pasta

1 orange bell pepper, sliced

1 pt. grape tomatoes halved

3/4 c. chopped marinated artichokes

1/3 c. pitted kalamata olives, chopped

4 oz. cured salami, such as Soppressata, chopped

2 tbsp. chopped fresh flat-leaf parsley, plus more for serving

1 tbsp. chopped fresh oregano

2 tbsp. chopped capers

14 oz. fresh mozzarella, torn


Method

  1. Bring a large pot of salted water to a boil. Add pasta and cook according to package directions.
  2. Meanwhile, whisk together vinegar, oil, mustard, and sugar in a bowl. Transfer half of the dressing to a large bowl and add onions; toss to coat. Let stand while the pasta cooks.
  3. Drain pasta and add to onion mixture; toss until liquid is absorbed. Cool to room temperature.
  4. Add bell pepper, tomatoes, artichokes, olives, salami, parsley, oregano, capers, and remaining dressing, and toss to coat.  Fold in mozzarella. Serve sprinkled with additional parsley.


Easy Halloumi Salad With Couscous


Found on Walder Wellness, dietician Carrie Walder this easy halloumi and couscous salad is perfect for summer. The full post includes tips for cooking couscous, and halloumi, making this recipe in advance, and some recipe modification ideas/ingredient swaps.

Ingredients

1/3 cup pearl or Israeli couscous, dry (or 1 cup cooked)

1 block halloumi cheese

4 cups arugula

1 cup cucumber, sliced

1 cup cherry or grape tomatoes, halved

1 cup strawberries, quartered

1 cup steamed baby beets, quartered (pre-packed)

1/4 cup fresh mint, chopped

1 avocado, cut into chunks

Salt + pepper, to taste


For the balsamic vinaigrette dressing:

Balsamic Vinaigrette Dressing:

1/4 cup olive oil

2 Tbsp balsamic vinegar

1/2 a lemon

1 tsp honey

1 tsp garlic powder

Salt + pepper, to taste

Instructions

  1. Cook couscous according to package directions. You can also use pre-cooked couscous if you have some on hand.
  2. While couscous cooks, chop all the veggies and add to a large bowl with arugula.
  3. Make the dressing by adding all dressing ingredients to a small bowl or jar with a lid. Whisk or shake together.
  4. Cut the block of halloumi cheese into 1/4-inch thick slices. Heat a non-stick frying pan over medium and add slices directly to the pan (there is no need for additional oil). Allow to cook undisturbed for about 1-2 minutes. Check to see if the underside is starting to brown and crisp. When it does, you can flip each piece over and repeat it on the other side. Remove from heat when done.
  5. Add cooked couscous to the bowl with all the veggies. Pour dressing over the top and toss everything together.
  6. Plate salad and top each serving with an even amount of avocado chunks and fried halloumi cheese. Enjoy!


Tropical Fruit Salad in Lemongrass Syrup


This fruit salad recipe from BBC Good Food makes the perfect summer dessert. Pair it with a light sorbet or creamy ice cream for even more taste.

Ingredients:

425g can of lychees in syrup

2 stems of lemongrass halved and bashed with a rolling pin

85g golden caster sugar

2 x cans of fresh mixed tropical fruit

100g seedless red grape

6 macaroons or coconut biscuits to serve

Method:

  1. Drain the lychees’ juice into a pan and put the lychees in a large serving bowl. Add the lemongrass and sugar to the pan, heat gently until the sugar dissolves, and then boil for 1 minute. Turn off the heat and set aside – the lemongrass will add flavour as it cools.
  2. Strain the syrup over the lychees and tip in the fruits. Chill. Serve with macaroons.

Try experimenting with various ingredients and when you find a winning combination, let us know in the comments.

What’s special about Stevia?
by Hetty (MS) | 13th May 2022

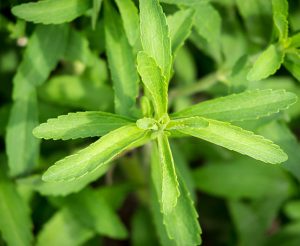
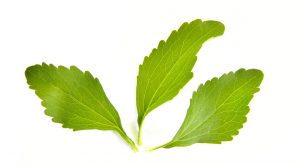
Stevia is probably most well known as a sweetener. These sweeteners are derived from the leaves of the Stevia Rebaudiana plant, a herbal shrub which is a naturally bushy plant that will overwinter on a bright windowsill in a cool room. The Stevia plant has been used in food and medicines for hundreds of years.

Stevia sweeteners are made by extracting steviol glycosides from the leaves. Leaves are harvested to be used as a natural sweetener, either by steeping in warm water for 12 hours or dried and ground.

How to Grow Stevia

Depending on whether you’re planting in pots or directly in the ground, the growing method will alter slightly. If using pots or containers, give your stevia plant at least a 12-inch pot with a quality potting mix. Place it in full sun and water whenever the top inch of potting soil feels dry.

If growing outdoors, plant stevia in spring once all chances of frost have passed. This herb grows well in-ground. You should place stevia plants 18 inches apart. Grow this sun-loving plant in an area that gets plenty of light and has rich, well-drained soil with a pH of 6.7 to 7.2.

Feed regularly with water-soluble plant food to promote healthy leaf production. Water once the top inch of soil becomes dry, but don’t let the soil become soggy. You can harvest stevia leaves once they’re large enough to use.

How to harvest Stevia

Leaves are the sweetest in Autumn. They also have the best taste before the plant blooms.

To preserve Stevia and make it easy and convenient to use, the easiest way to keep it is to dry it. Start by cutting whole stems and then strip the leaves and tender stem tips. Place these on loosely woven fabric or non-metallic mesh outdoors on a dry, sunny day. One day should be long enough to dry the leaves; make sure you bring them in before the dew dampens them again. You could also use a food dehydrator if you have one. Once the leaves are crisp, you will be able to crush them by hand in a pestle and mortar or powder them with a food processor. You can then store this in an airtight container.

You can also make liquid stevia sweetener by steeping your leaves in warm water. Firstly, rinse the stevia leaves in cold water and lay them flat on kitchen paper. Pat the moisture from the leaves and let them sit for a few minutes. Next, remove the stems and crush the leaves by hand into a food container or jar. Cover them with warm water and allow them to sit for 24 hours. After this time, strain the liquid through a muslin or cheesecloth and place your leftover syrup into a bottle or jar ready for use.


Stevia zero-calorie sweeteners

Stevia sweeteners are no-calorie sweeteners that can be used to lower your intake of sugars while still having the satisfaction of a sweet taste. Stevia sweeteners are intensely sweet, more so than other types of sweeteners. Only a tiny amount of stevia sweetener is needed to match the sweetness of sugar.

Stevia sweeteners are often used by food and beverage manufacturers as an ingredient in beverages, such as diet drinks, light or low-sugar juices and flavoured waters, canned fruits, condiments, dairy products, e.g. ice cream, flavoured milk and yoghurt, as well as other foods like baked goods, cereals, chocolate and other confectionery and syrups.

Can Stevia be used in baking?

Because Stevia is stable at high temperatures, it can be used in baking. That said, using stevia in place of sugar may alter the results of your recipe as sugar typically plays a part in the volume and texture as well as sweetness.

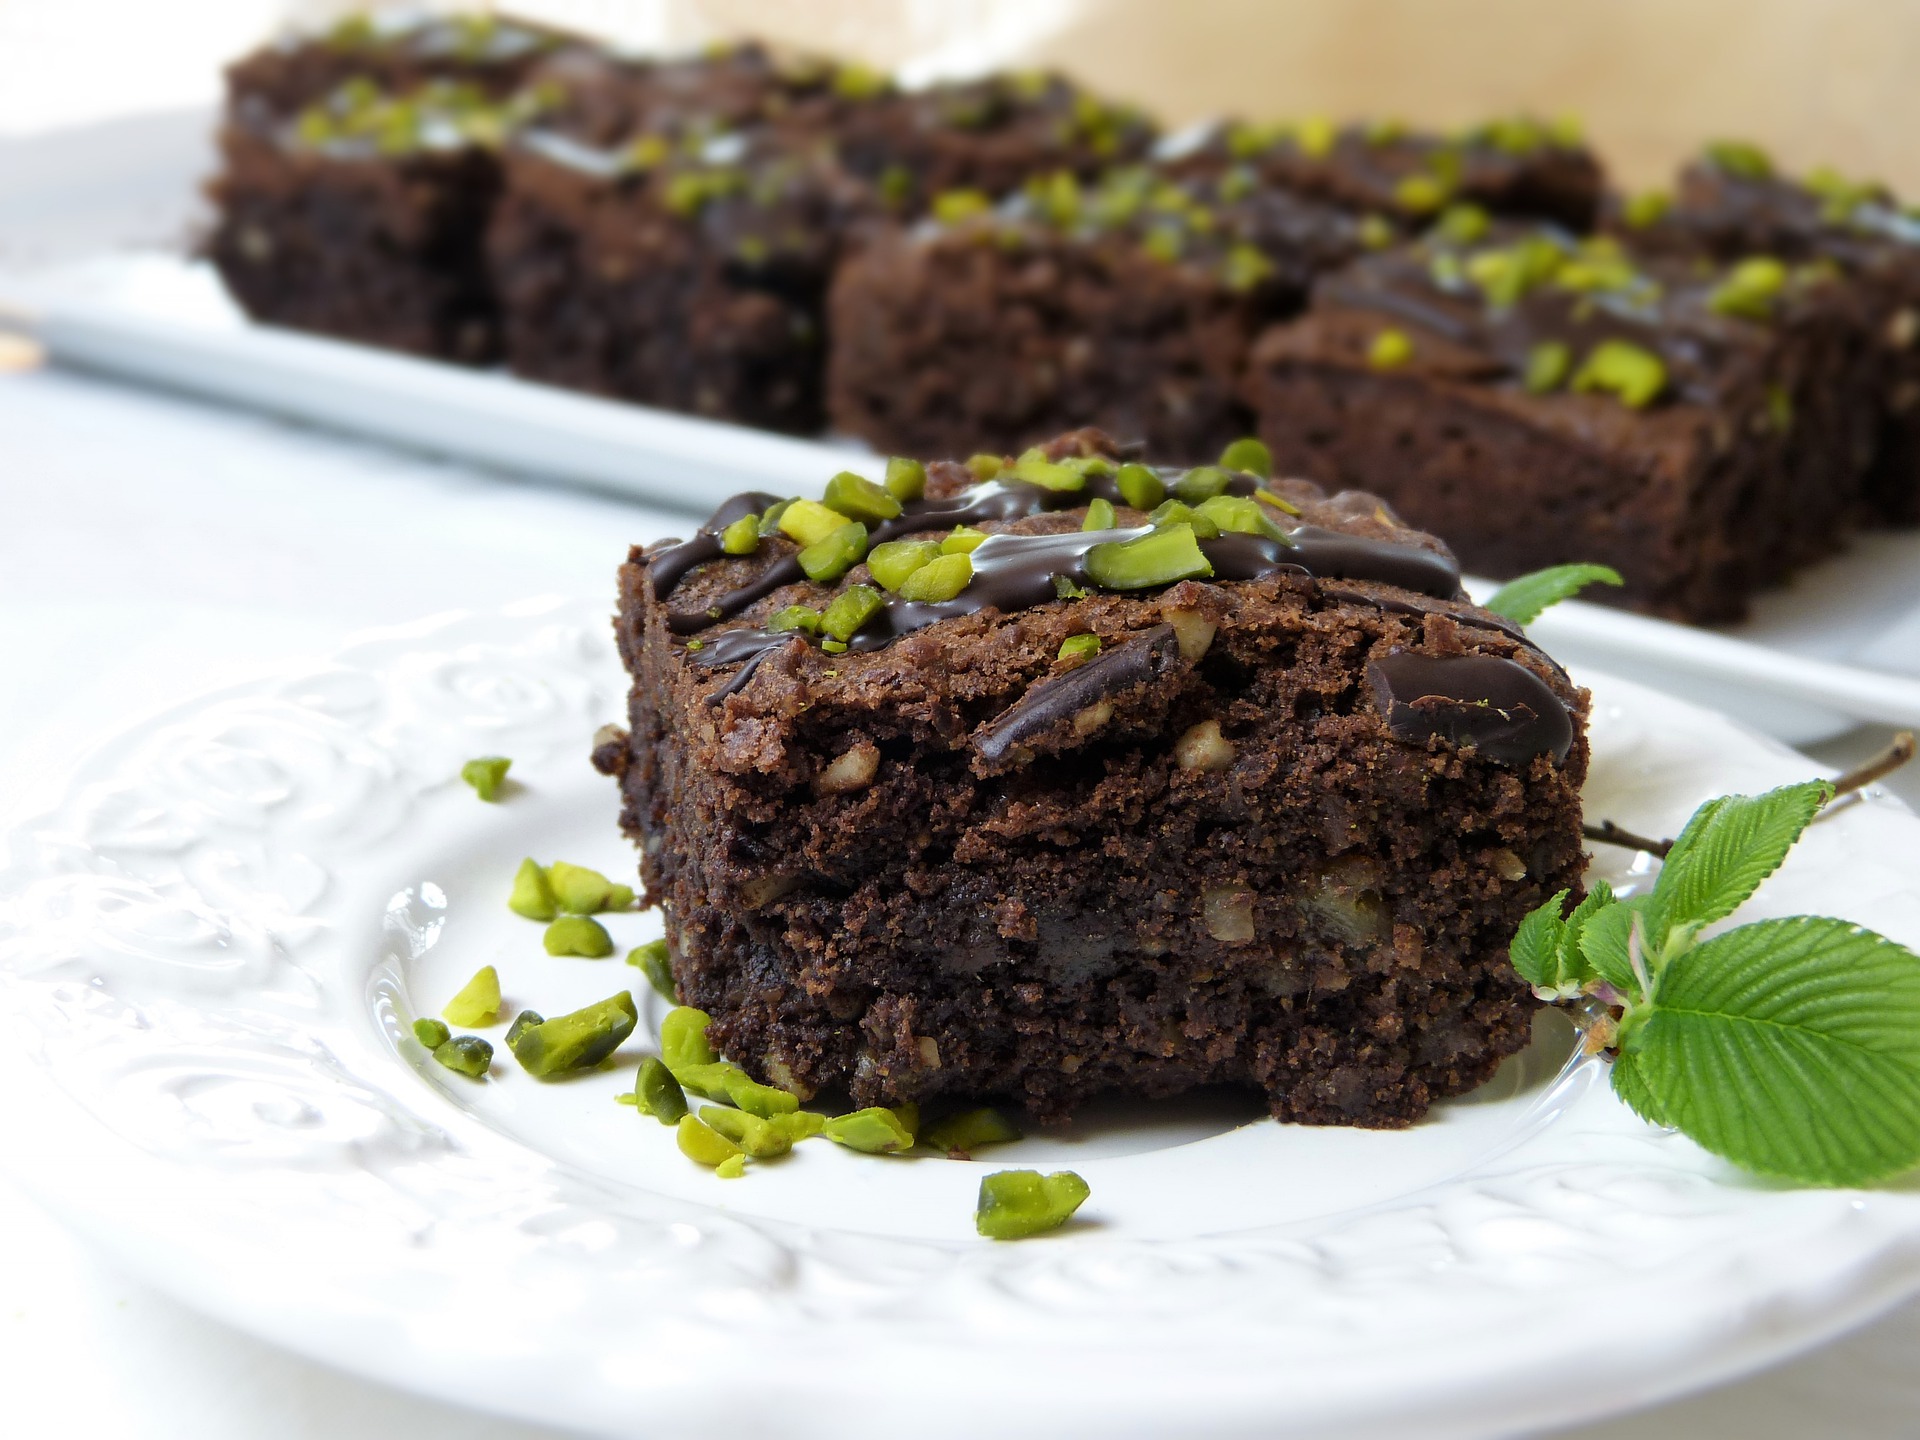
There are a variety of stevia specific recipes available on the internet, such as this article which has 17 Stevia sweetened desserts. Since it’s naturally super sweet, a little goes a long way when using it in baking. If you’re using powdered stevia, the stevia-to-sugar ratio is approximately half a teaspoon of powdered stevia to equal the sweetness of ¾ cup of sugar. Around 15 drops of liquid stevia are the same as one tablespoon. It’s best to experiment with the amount of stevia you use and adjust the sweetness of your baking to your taste.

How to bake with Stevia

Stevia is very good at high temperatures; however, it will start to break down at temperatures above 400 degrees Fahrenheit, so it’s essential to use a lower oven setting. Stevia remains stable up to around 392 degrees, so it is a perfect substitute for sugar in baking.

As you will use much less stevia than you would sugar, you may need to add other ingredients to add more bulk to your cakes and bakes. You’ll need around ⅓ cup of liquid for every cup of sugar replaced. You can add yoghurt, fruit juice, egg whites or fruit sauces to replace any lost volume, meaning your baking won’t come out flat and will have the right texture.

Stevia won’t caramelise the same as sugar and won’t brown like sugar. As there’s not the same visual browning, it can make it more difficult to know when your baking is done. Use a skewer or clean knife to check the middle, and once it comes out clear of any wet ingredients, your baking is ready to come out.


Is Stevia Safe?

Stevia is a natural sweetener, unlike others such as aspartame and saccharin and is thought to be a very safe sugar alternative. There are added health benefits to using stevia rather than sugar, including lower blood sugar, fewer cavities and, of course, reduced calorie intake.

Stevia is beneficial for anyone who has diabetes. According to Healthline, “You may find stevia helpful if you have diabetes — but be careful about which type to choose.


Some research indicates that stevia may be a safe and effective way to help manage blood sugar levels in people with type 2 diabetes.

In fact, one small study in 12 people with this condition showed that consuming this sweetener alongside a meal led to greater decreases in blood sugar levels compared to a control group given an equal amount of corn starch.

Similarly, an 8-week study in rats with diabetes noted that stevia extract decreased levels of blood sugar and haemoglobin A1C — a marker of long-term blood sugar control — by over 5% compared to rats fed a control diet.

Keep in mind that certain stevia blends may contain other types of sweeteners — including dextrose and maltodextrin — that can increase blood sugar levels.

Using these products in moderation or opting for pure stevia extract can help maintain normal blood sugar levels if you have diabetes.”


Hetty’s Herbs Fresh Herb Pairing Guide: Fish
by Hetty (MS) | 22nd April 2022

When it comes to fish and seafood, the variety of flavours on offer is far and wide. From the sweet and delicate to strong and earthy. Fish is rarely boring, especially when paired with the right herbs to complement and enhance the flavour of the fish.

Our guide looks at the very best herb pairings for fish, used either individually or in combination to create fish dishes that wow.

Parsley

An old favourite for pairing with fish, and for good reason. Parsley is a fresh, juicy herb that reinforces the delicate flavour of fish and seafood. It can be used in sauces, butters or as a garnish. Parsley does really well when grown indoors so is perfect for year-round use.

Basil

Basil and fish are a dream pairing. Try experimenting with different varieties of basil which all differ slightly in flavour. Basil has a strong aromatic smell and yet a fairly delicate flavour. It’s best with a light fish but also works well with a stronger fish such as trout.

Bay Leaves

Bay leaves have a really distinct smell and flavour that makes a fantastic pairing for fish. Bay leaves can be used in sauces or marinades to make an excellent companion for delicate fish such as cod. Bay leaves are a great addition to chowder or fish soup.

Chives

Chives are an exceptional pairing for fish and really versatile. They can be used to make sauces, marinades, butters or simply sprinkled onto the fish during cooking. As well as adding a hint of sharp flavour, they add a beautiful green colour to your seafood dish.

Dill

Dill is another age-old favourite to pair with fish. Dill is delicate, aromatic and versatile making it perfect for partnering with white fish or something such as salmon. Dill works especially well in creamy sauces.

Mint

Even a small amount of mint will cut through strong flavours and add a delicious tang to your fish dish. It’s important to be mindful of how much mint you use as it can quickly overpower the fish. Mint is perfect with new potatoes which also make an excellent pairing for fish.

Tarragon

Tarragon is most commonly used in French cuisines. It adds a light, delicate flavour to fish dishes, especially when used in sauces. It also works well in butters and marinades and is fabulous with lobster.

Thyme

Thyme is a classic fish pairing. It does get stronger the more it is cooked and can start to overpower the fish so it’s important to be careful with how much you use as well as how you use it, light cooking is best for Thyme.

Rosemary

Rosemary is one of the more aromatic herbs and is perfect for pairing with fish. It’s another really versatile herb that can be used fresh or dried. Fresh rosemary has a slightly more citrus taste. It works well in a number of seafood dishes.

Sage

Sage isn’t a herb that instantly springs to mind when thinking of fish pairings. Its light, aromatic, earthy flavour is excellent with seafood. Sage increases in intensity when it’s cooked or frozen, so you’ll need to bear that in mind when considering how much to use.

How To Use Herbs When Cooking Fish

Once you’ve decided which herbs you’ll use in your fish dish, you’ll need to look at how they can be used to really make the most of them. The method of cooking will of course be dictated mostly by the fish you’re using and any recipes you’re following. Some herbs, such as sage and thyme, require light cooking to prevent them from overpowering the fish. Often certain herbs work best in sauces or marinades while others will work best in a herb crust. Don’t be afraid to experiment with different cooking methods.


Grilling

Grilled fish is one of the healthiest and most delicious foods you can cook. Unfortunately, fish is notoriously difficult to grill. The first step when grilling anything, especially fish, is to preheat your grill on high. Having the grill preheated will lessen the amount of time your fish is on the grill which will prevent it from drying out and will help to stop the fish from sticking.

Before grilling your fish, allow it to sit at room temperature for around 10 minutes before oiling and seasoning it. If you’re searing both sides of the fish, flesh and skin, you’ll need to lightly oil both sides. Don’t move the fish during cooking as this can cause it to break. Once cooked, you should be able to slide your spatula between the skin and the flesh or lift the entire fish from the grill.


Oven Baked Fish

A great way to cook herbs with fish is to oven bake them together in a parcel. By creating a type of cooking bag, it allows the fish to gently take on the flavours of the herbs. It’s a quick and easy way to create a delicious meal. We found this tasty recipe on BBC Good Food but there’s also a useful tutorial by James Martin on Quadrillebooks’ Youtube channel


Bake-in-a-bag Fish

Ingredients

2 tbsp olive oil

¼ fennel bulb, finely sliced

½ onion, finely sliced

salt and freshly ground black pepper

1 medium tomato, sliced

2 fish fillets, about 175g/6oz each, such as cod, sea bass or trout

olive oil, drizzle

squeeze lemon juice

1 tbsp chopped dill (optional)

1 tsp capers (optional)

2-3 tbsp white wine (optional)


Method

  1. Preheat the oven to 200C/180C Fan/Gas 6. Cut out two squares of baking paper about 40cm/16in square, and two squares of tin foil of the same size. Lay a square of baking paper on top of each piece of foil.


  1. Heat the oil in a frying pan and fry the fennel and onion with some salt and pepper for 2-3 minutes, until softened. Divide the fennel and onions between the two squares of baking paper, and layer on the sliced tomatoes then put a fish fillet on top of each heap. Drizzle over some olive oil, a squeeze of lemon juice, and season with salt and freshly ground black pepper. Sprinkle over the chopped dill and a few capers, if using.


  1. Fold the foil and paper over the fish and double fold each edge to make a sealed parcel, leaving a gap at the top to pour in a few tablespoons of white wine (if using). Pour in the wine, then fully seal the parcel, but not too tightly, as it needs to expand in the oven as it cooks.


  1. Place the parcels on a baking tray and bake for 12-14 minutes, or until the fish is just opaque and cooked through. Serve the parcels on each plate so they can be opened at the table.
Connect with us on Facebook Connect with us on Twitter Connect with us on Pinterest Connect with us on Instagram
There are no products